 myAcademy® Rewards Credit Card
Breaking In Hiking Boots: 5 Methods to Get You On the Trail
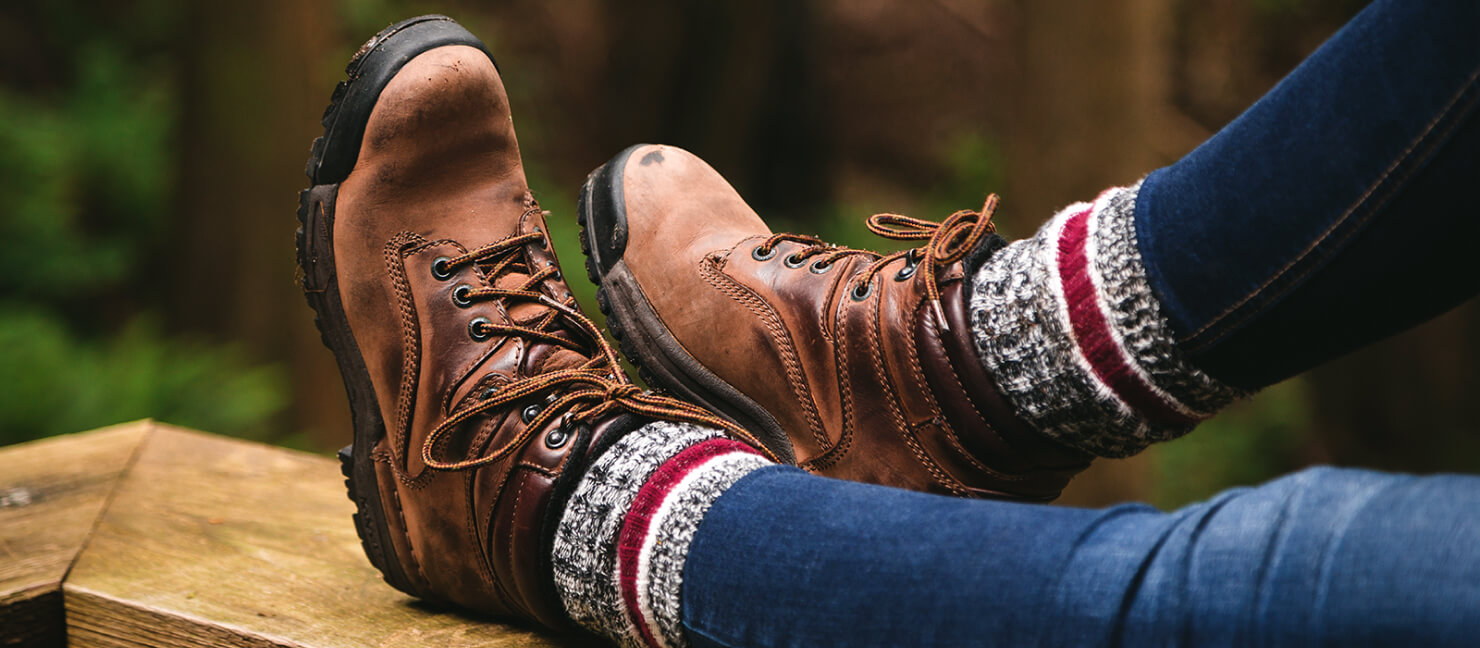
You can’t reach the summit comfortably with boots that give you blisters! Before you hit the trails, take some time to learn how to break in hiking boots. Wearing them straight out of the box usually leads to chafing, blisters, and discomfort. In this guide, you’ll learn all about breaking in hiking boots.
Key Takeaways
- How to Break In Hiking Boots: Gradually break in your hiking boots by wearing them indoors and on walks. You can eventually progress to short hikes and take them out on varied terrain.
- 5 Easy Steps to Break In Hiking Boots Before the Hike: Condition your boots, wrap your feet in sports tape to prevent blisters, and wear your boots constantly to break them in quickly. You can also get your boots wet to mimic real hiking conditions.
- Frequently Asked Questions: Wear your boots on errands and around town to help break them in quickly. You can also soften the leather of your hiking boots with a hairdryer on high heat or with an alcohol pad.
Break Your Boots In Gradually
Breaking in your hiking boots takes a gradual approach if you want to maximize comfort. Wear your new boots indoors — allowing your feet to adjust. Next, take them for a stroll around your neighborhood before you attempt more. Your feet will progressively acclimate to the boots and terrain.When you’re ready to upgrade from a casual stroll to a short hike, add a day pack to your hikes and gradually increase the mileage. Pay close attention to any signs of discomfort or pain. These may indicate that you need a different boot size or should explore options from another brand.

Break In Your Boots in 5 Steps
Breaking in your hiking boots is one piece of preparing for a hike. Set aside a few weeks to a month ahead of your hike. Remember, rushing only ends in unnecessary trail pains, aches, and blisters. Follow these 5 steps to break in your hiking boots with ease:
Expert Tip:
Before you take a pair of hiking boots home, spend a few extra minutes trying them on in-store. A well-fitted pair fits snugly out of the box with enough room to wiggle your toes.
Prep Your Boots + Feet
The secret to a comfortable hike is simple: prepping your boots and feet! Check out these steps to ensure both are ready for the trail:
Condition Your Boots: Keeping your hiking boots in top-notch condition ensures they stand the test of rugged terrains. Regularly treating the leather with a conditioner will maintain its strength and flexibility.
Sock and Foot Care: When it comes to foot comfort, never compromise. Opt for well-fitting liner socks and consider using foot powder or BODYGLIDE to combat chafing.
Blisters Prevention: Wrap potential hot spots with sports tape as you break in your boots, or apply moleskin preemptively.
Quality Hiking Socks: Elevate your hiking game with top-notch hiking socks known for their exceptional support and moisture-wicking capabilities.
Wear Your Boots from Sunup to Sundown

To truly break in your hiking boots, make them an integral part of your daily routine. From sunrise to sunset, wear your boots indoors so your feet adapt over time.
Indoor Exploration: Walk around the house, take laps, and go up and down your staircases — all while wearing your hiking boots. These small indoor adventures contribute to your boots conforming to your feet.
Secure Fit Matters: During your indoor walks, keep your laces tightened. This helps prevent friction and blisters — ensuring your boots are as comfortable as possible.
Listen to Your Feet: Pay close attention to any discomfort or serious pain points. If your boots feel overly tight, it may be a sign they're not the right fit. Exchange them for the correct size if they're within the return period and still in new condition.
Allow Room for Swelling: Keep in mind that your feet tend to swell during extended hikes (especially on longer treks). Your hiking boots should have a bit of extra room to accommodate this natural swelling.
Get Your Hiking Boots Wet
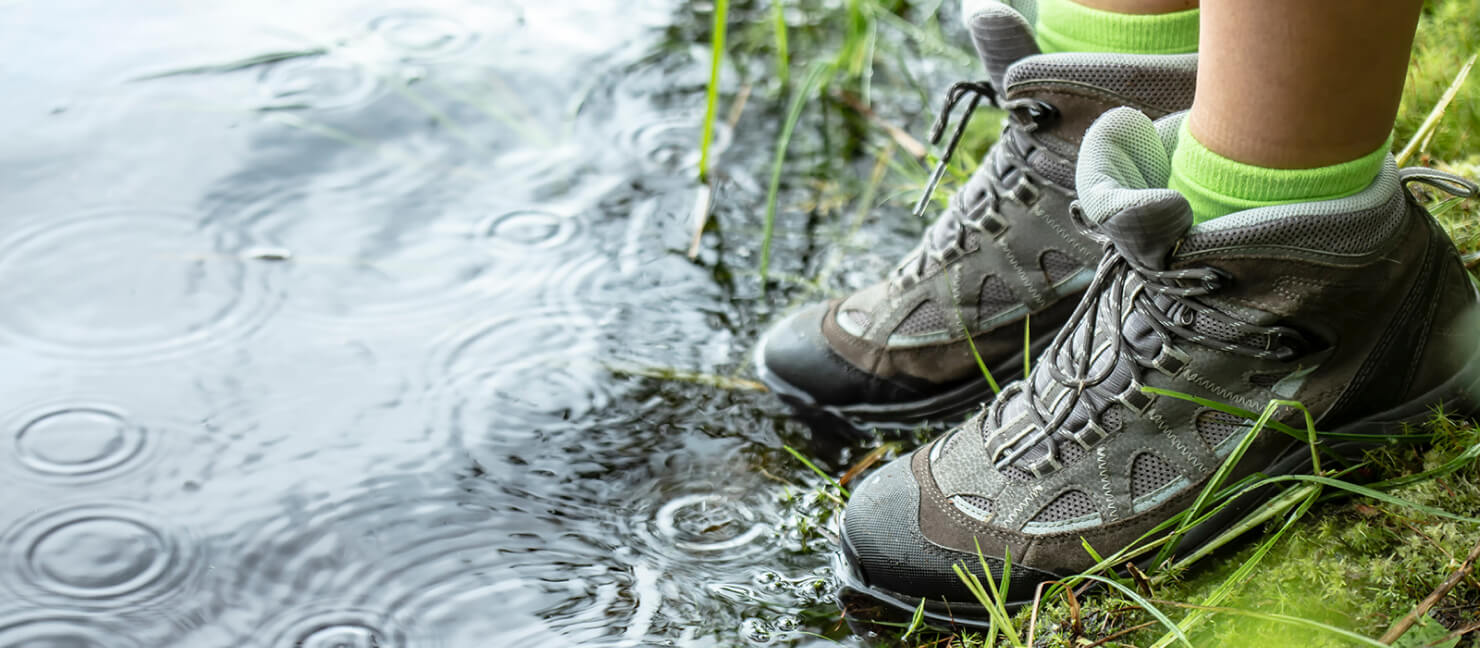
Hikes can be dirty and messy. Your hiking boots WILL encounter mud, water, or unexpected downpours. To prepare for these scenarios, embrace the elements.
Simulate Trail Conditions: To replicate the conditions you'd encounter on the trail, intentionally get your boots muddy and wet. You’ll be able to familiarize yourself with how your boots respond to moisture and muck.
Walk the Wet Mile: After exposing your boots to moisture, go for a walk. You’ll uncover any potential discomfort or areas prone to blisters. This early awareness enables you to address issues early on.
Take Your Hiking Boots to the Gym + On Errands
Make your gym time double as a boot-breaking session. Wear your hiking boots on the treadmill. Engaging in short walks or treadmill exercises while donning your boots allows for incremental break-in progress.
Errands and Short Strolls: For everyday tasks like taking out the trash or short neighborhood walks, opt for your hiking boots instead of your regular walking shoes.
Incremental Mileage Increase: As you feel more at ease, gradually increase your mileage while wearing them. Start with short walks of half a mile to a mile to allow your feet to adapt to the boots' fit and support over time.

Replicate Real Hiking Conditions & Terrains
Simulate the weight you'll carry during the hike — typically ranging from 15 to 40 pounds. Gradually load your hiking backpack to reach this range as you wear the boots.
Diverse Terrain Practice: Challenge your boots by walking on various terrains (and, gravel, and dirt). Choose level trails without significant elevation changes during this stage.
Local Hiking Expedition: Head to your favorite local hiking destination for a day hike. Aim for a distance of 4 to 8 miles. This range is best to test your boots on varying elevations and terrains.
Comfort Assessment: Gauge the comfort of your boots by sitting down on the trail during your hike. Take note of how your feet feel while resting and in motion.
Expert Tip:
When taking your hiking boots out on a long trail, preparation is key. However, even if you plan carefully, you may still get boots that don't fit well. Pack moleskin to address blisters, and include a pair of sneakers or trail shoes in your backpack to give your feet a break if necessary.
Frequently Asked Questions
How Do You Break In New Hiking Boots Fast?
In the time leading up to your hike, wear your hiking boots continuously. Wear them inside your home, then take them outdoors and around town. Wear them on a day hike with some added weight, and consider getting your hiking boots wet to help them conform to your feet.
How Do You Soften Stiff Hiking Boots?
While wearing your hiking socks and boots, use a hairdryer on the high heat setting to soften your boots. Alternatively, apply alcohol to tight areas of your boot to help them expand.
Have Fun Out There!
Looking to conquer your next hike? Ensure you're well-prepared with a sturdy pair of hiking boots from top brands like Wrangler and Timberland, available at Academy. Don't forget to break them in for a comfortable, scenic, and adventurous hike.