 myAcademy® Rewards Credit Card
How to Season a Blackstone Griddle Like a Pro

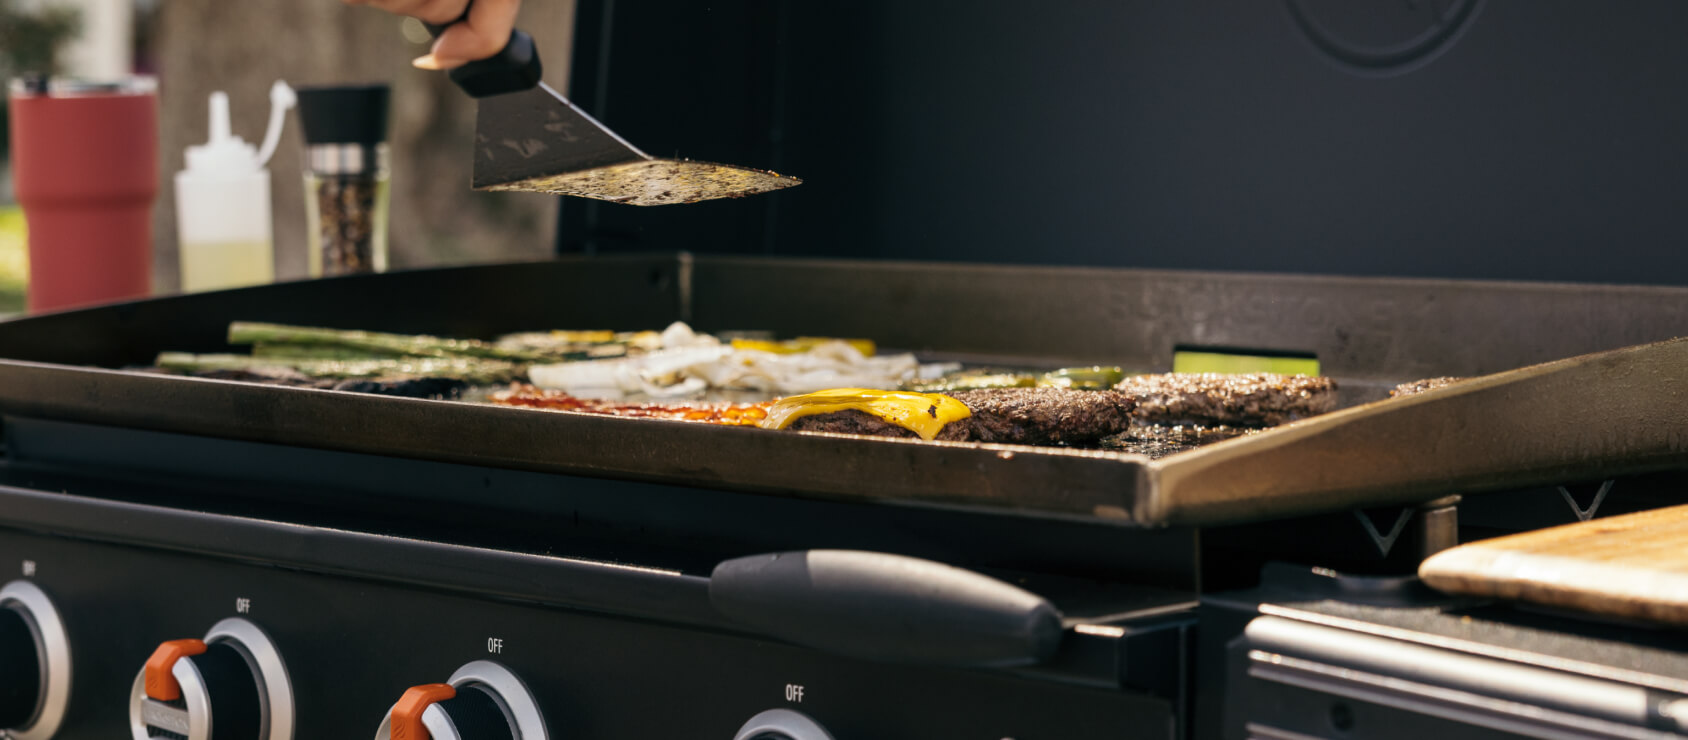
Want restaurant-style cooking in your own backyard? From hosting parties to cooking dinner for the whole gang, your Blackstone griddle is about to become your new grilling BFF. Our expert guide will help you learn how to properly season your griddle a.k.a. create a non-stick surface so you can get to whipping up delicious meals in no time.
Key Takeaways
- Why You Need to Season a Blackstone Griddle — Seasoning a griddle creates a non-stick surface that’s better for cooking, protects it from damage and rust, and enhances food flavors.
- Essential Tools for Seasoning a Blackstone Griddle — You’ll need microfiber cloths, a squirt bottle, grill brick or sandpaper, tongs, heat-protective gloves, and a mix of soap and warm water.
- How to Season a Blackstone Griddle — Learn the six steps for seasoning a Blackstone griddle like a pro.
- How Often to Season a Blackstone Griddle — Season your griddle when it starts to look dull and patchy or when food starts sticking to it.
- What is the Best Oil to Season a Blackstone With? — Season your Blackstone using oils with high smoke points, like flaxseed, canola, or grapeseed oil.
What is a Seasoned Griddle?
A seasoned griddle is a flat cooking surface treated with oil and heat to create a non-stick layer, make it easy to cook on, protect the griddle’s surface, and enhance your food’s overall taste. Over time, a griddle’s black patch fades and turns slightly brown (or bronze). This fading indicates that the seasoning is fading, and it may be time to reseason your griddle.
Why You Need to Season a Blackstone Griddle
You need to season a griddle because it creates a non-stick surface for easier cooking, protects the griddle from rust and damage, and enhances the flavor of the food you prepare on it. Once you season your griddle, you’re ready to start cooking on it. However, make sure to continually season it to prevent rust from forming.
Do Blackstone Griddles Come Pre-Seasoned?
Blackstone griddles do not come pre-seasoned. They have a protective coating that helps prevent rust during shipping, but you’ll need to clean and season your griddle before the first use. Don’t worry—it’s a simple process that sets you up for the ultimate cooking experience!
Essential Tools for Seasoning a Blackstone Griddle
To season your Blackstone, you’ll need:
- Durable microfiber cloths
- A squirt bottle
- Grill brick or sandpaper
- Soap & warm water mixture
If you’d prefer, you can buy a Blackstone griddle cleaning kit!
How to Season a Blackstone Griddle
Whether you’re preparing to fire up your Blackstone for the first time or refreshing it, these expertly crafted cleaning steps are quick, easy, and totally worth it. Let’s walk through the steps to season your griddle like a pro!
Step 1: Use a Grill Brick or Sandpaper

If you're seasoning a brand-new griddle for the first time, the first step is to use a grill brick or sandpaper. Grill bricks are specifically designed to scrub the surface of your griddle without damaging it. They also sometimes come with a handle for easy sanding.
- Similar to sanding a wall to remove bumps before painting, sanding down your griddle (while it's turned off) is necessary to eliminate any rough points.
- You don’t need to apply a ton of pressure. You can use 120-grit sandpaper and (with a wiping motion) sand the griddle down from top to bottom or side to side.
- This step helps to create a smooth surface on your griddle, making it easier to cook your food evenly without any sticking.
- You can skip this step if your griddle isn’t new. However, if your griddle is old and chipping, then you’ll want to sand it down to start fresh.
Step 2: Clean Your Griddle
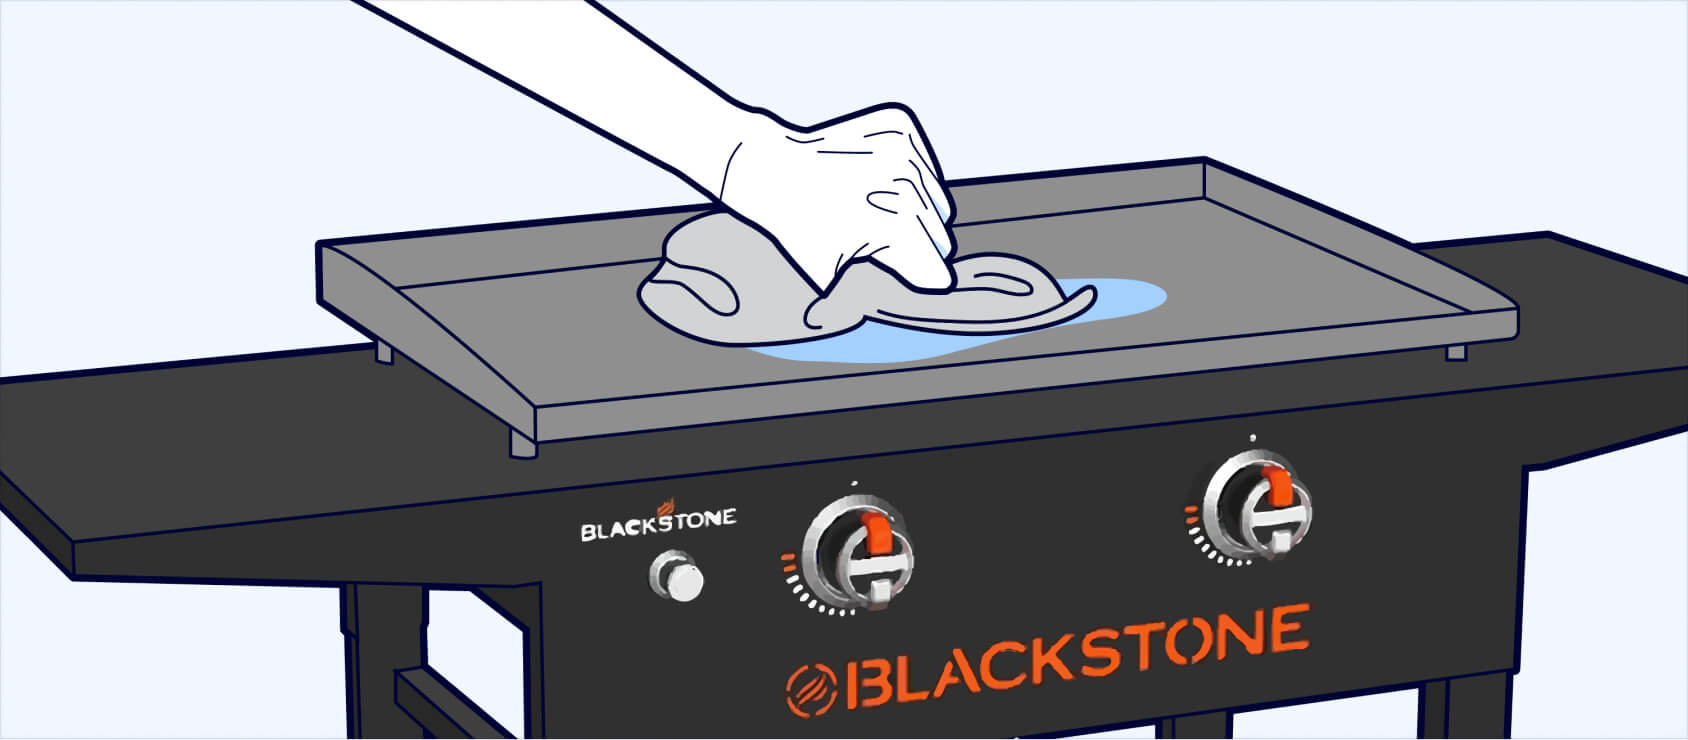
The second step in seasoning your griddle is to clean it thoroughly. This process removes any dust or dirt that may have accumulated on the surface.
- To do this, get a microfiber cloth and lightly dip it into a bowl of soapy water. It doesn't need to be overly saturated. You can use dish soap or another mild cleaner.
- You can use a squirt bottle filled with water to remove any excess soap.
- Next, while the griddle is still off, wipe it down with a damp microfiber cloth. Then, use a dry rag or another microfiber cloth to thoroughly dry it off.
If your griddle isn't brand new, you may need to scrape off any food debris that has accumulated on the surface before wiping it down. You can use a scraper with a sharp, flat edge to remove any buildup.
Step 3: Preheat Your Griddle

An essential part of seasoning your griddle involves heat, which means you’ll need to preheat your griddle.
- Turn the heat up to high and let it run for 10-15 minutes. During this time, you may notice some browning or discoloration on the surface of the griddle. Don't worry — this is a normal part of the seasoning process.
- It's essential to preheat the griddle to ensure that it's hot enough for the oil. This helps to create a bond between the oil and the surface of the griddle, which results in a non-stick surface that's perfect for cooking a variety of foods.
Step 4: Apply the Seasoning

After preheating your griddle, the next step in the seasoning process is to apply a thin layer of oil over the whole surface of the griddle.
- Start by taking 1-2 tablespoons of oil and placing it carefully on the griddle. Use your tongs and a rolled-up microfiber cloth to spread the oil evenly over the surface of the griddle.
- If your griddle is small, use less oil, and if it's larger, use more oil. However, make sure not to use too much oil because you don't want the griddle to be drowning in oil.
- If you’ve accidentally created a puddle of oil, grab microfiber cloths to quickly soap some of it up.
- The goal is to cover the corners of the griddle, the outside edges, and the grease trough with a very thin layer of oil. Be extremely careful when spreading the oil, as it can splash and cause injury. You can wear heat-resistant gloves for more protection.
Step 5: Allow the Oil to Reach its Smoke Point

Once you've applied a thin layer of oil to your griddle, the next step is to allow the oil to reach its smoke point. This process is critical because it helps polymerize the oil, creating a hard seasoning layer on your griddle.
- Similar to how oil smokes in a hot pan, the oil on your griddle will smoke at first. After five minutes or so, the smoke on your griddle will start to die out.
- Turn the heat on your griddle to low or medium. Remember that many griddles will still stay very hot even on low settings.
- The polymerization process occurs when the oil reaches its smoke point, and the heat helps create a bond between the oil and the surface of the griddle. Wait at least 10-15 minutes to allow the oil to bake on the griddle. Be patient!
Step 6: Repeat the Process

After the initial seasoning, repeat the process three to five more times.
- Spread a thin layer of oil evenly on your griddle and wait 10-15 minutes. Continue with rounds of seasoning until the smoke is no longer visible.
- With each layer of seasoning, the griddle will transform color, changing from its original color to black. This will start in the center and gradually spread outwards.
- You might create a patch of black in the center and the outer edges may be more bronze in color. This is normal.
- A brand-new griddle may need to be seasoned four to five times, while a used griddle might need three layers. It all depends on the current shape your griddle is in.
How Often to Season a Blackstone Griddle
The next big question you may have is, “How often do you season a Blackstone?” You should season your griddle as soon as the cooking surface starts to look dull and patchy or when food sticks to it. This typically happens every few months with regular use or sooner if you use your Blackstone griddle more frequently.
- You’ll want to season your griddle if it’s your first time cooking on it. If not, you risk burning your food.
- In terms of upkeep, you can season with one layer of oil after cooking to maintain your griddle. It also comes down to preference. If you prefer to season before cooking rather than after, you can do that.
- Acidic foods like tomatoes can break down the seasoning faster.
Just remember, the more you care for your griddle, the better it will perform for you. So keep an eye on its condition and re-season when needed!
Expert Tip:
This seasoning process is intended for griddles and cast-iron pans only. It should not be used for non-stick pans.
What is the Best Oil to Season a Blackstone With?
The best oil to season a Blackstone griddle is one with a high smoke point, like flaxseed oil, canola oil, or grapeseed oil. These oils create a durable, non-stick surface that holds up to high-heat cooking. Flaxseed oil is often a favorite because it polymerizes well and gives you a smooth, long-lasting seasoning layer.
How many layers of oil do I need to season a Blackstone griddle?
For the best results, you’ll want to apply 3-5 thin layers of oil when seasoning your Blackstone griddle. Each layer should be heated until it smokes and bonds to the surface, creating that shiny, non-stick finish. Remember, thin layers are key—more isn’t better when it comes to seasoning!
Do you put oil on a Blackstone every time you cook?
Although it’s not mandatory, it’s a good idea to add a thin layer of oil before cooking on your Blackstone griddle. This keeps food from sticking and helps maintain the seasoning over time. Think of it as giving your griddle a little TLC to keep it in top shape for all your culinary creations.
Blackstone Griddle Seasoning FAQs
How long does it take to season a Blackstone griddle?
Seasoning a Blackstone griddle typically takes about 30-60 minutes. While it might take a little time, the payoff is a durable, non-stick cooking surface you’ll love using!
Can I use soap and water to clean my Blackstone griddle?
Yes, you can use soap and water to clean your Blackstone griddle—but only before seasoning it for the first time. After that, skip the soap and stick to water, a scraper, and a soft cloth or paper towel for regular cleaning. Soap can strip away the seasoning, and you want to keep that non-stick surface intact.
Can I use butter to season my Blackstone griddle?
No, you shouldn’t use butter to season your Blackstone griddle. While it’s great for cooking, butter has a low smoke point and contains milk solids that can burn and leave behind residue. Stick with oils like flaxseed, canola, or grapeseed for seasoning.
What do I do if my Blackstone griddle starts to rust?
If your Blackstone griddle starts to rust, don’t panic—it’s fixable! Start by scraping off the rust with a metal scraper or grill stone. Next, clean the surface with water and a bit of mild dish soap (just this once), then dry it thoroughly. Then, re-season your griddle.
Have Fun Out There!
Seasoning your Blackstone griddle is the key to unlocking its full potential. With the right oil, a few simple steps, and regular maintenance, your griddle will be ready to handle everything from breakfast spreads to backyard barbecues. So, fire it up, keep it seasoned, and enjoy all the delicious moments ahead!