How Do Trail Cameras Work? Cellular vs Game Cameras

Ever wish you had 24/7 surveillance in the woods? Thanks to game cams, you can now observe deer, bears, and other game in their natural habitat — any time you want to!
Whether you're a passionate photographer or an avid hunter, trail cameras offer the perfect opportunity to capture the beauty of wildlife up close. With this guide, you’ll learn all about how trail cameras work so you can have unfiltered access to any type of game.
Key Takeaways
- Unpack what a trail camera is and the two major types of cameras: traditional and cellular.
- Learn how trail cameras work and capture images of wildlife up close with confidence.
- Discover how cellular trail cameras work and what type of network services they require to function.
- Uncover the differences between traditional cameras vs. cellular trail cameras, including the price, how images are saved, additional features, and more.
- Find out how to set up a trail camera so you can start using it for your hunting trips as soon as possible.
- Learn how many game cams you need — especially if you’re covering a lot of hunting terrain.
What Is a Trail Camera?
A trail camera discreetly captures photos and records videos of any wildlife or subjects discovered via its motion-detection capabilities. They are portable and commonly used for wildlife monitoring, game scouting, hunting, property surveillance, or simply capturing interesting animal behavior in their natural habitat.
You’ll gain valuable insights into the habits, behaviors, and population dynamics of wildlife by simply using one (or a few). Modern trail cameras come in two types: traditional & cellular. Trail cameras have many names. They’re sometimes called scouting or even game cameras.
How Do Trail Cameras Work?
Whether you’re new to hunting or never used a trail camera before, you may be left wondering — how do trail cameras work? Trail cameras operate based on a simple yet effective mechanism:
-
Equipped with a motion sensor, these cameras trigger when they detect movement within their field of view.
-
Once activated, the trail camera captures images or even videos of the subject, which are then saved onto an SD card.
-
To access the images, one must physically visit the camera's location and retrieve the SD card.
Expert Tip:
To make your trail camera last longer, you can use a solar-powered panel.
How Do Trail Cameras Work Without Internet?
Trail cameras operate without the need for a constant Wi-Fi connection. While some modern trail cameras offer Wi-Fi connectivity as an optional feature, most trail cameras don’t have this function.
-
Trail cameras rely on batteries to power their operation, making them highly portable and suitable for remote locations.
-
As they capture images or videos triggered by motion, the recorded content is typically saved onto an SD card.
-
Unlike cameras with real-time alert systems, trail cameras do not provide immediate notifications of captured images.
-
To view the photos or videos, one must physically check the SD card, which can be accessed by visiting the camera's location.
How Do Cellular Trail Cameras Work?

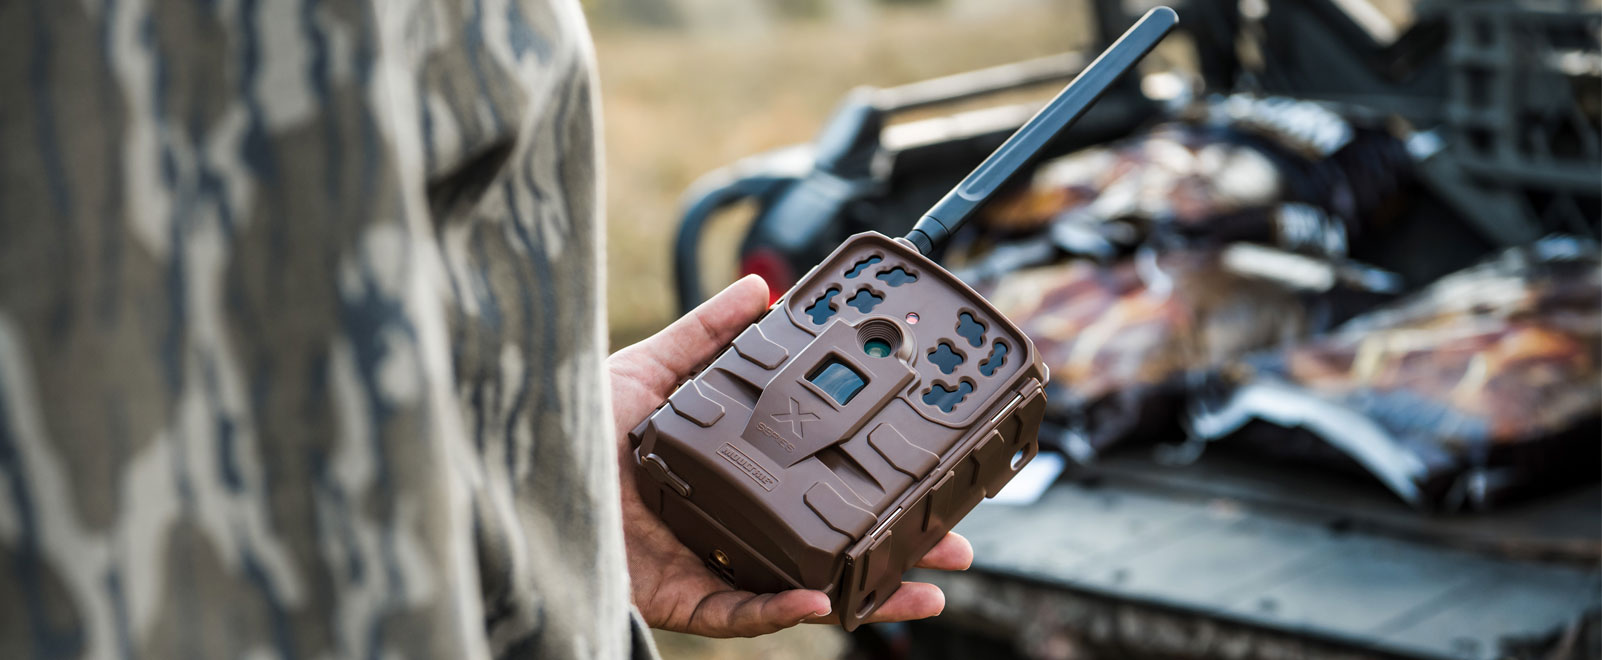
If you’ve never used a game camera before or you’re looking to make the switch from a traditional camera you may have lots of questions like — how do cellular trail cameras work? Cellular trail cameras offer more modern conveniences compared to traditional trail cameras.
-
Once Bambi walks in front of the cellular trail camera, the motion sensor triggers, and the image is saved on an SD card.
-
These cameras rely on batteries, but they also connect to the cellular network. Through this connection, cellular trail cameras can transfer the captured images to your cell phone — typically through a dedicated app.
-
If a cellular signal is unavailable, the camera will still function as a regular trail camera, saving images directly onto the SD card.
Do Cellular Trail Cameras Require a Subscription?
Yes and no! If you want your cellular trail camera to send you real-time notifications of the photos captured, then you’ll want to sign up for a subscription. However, your camera can operate just fine without one.
-
Subscriptions for cellular trail cameras do come at an additional cost, typically averaging around $8 for every thousand photos (depending on the service provider).
-
Even without a subscription, the camera will still save images to its SD card, allowing you to retrieve them manually.
-
Some cellular trail cameras offer the option to utilize cloud storage: providing an alternative method for storing and accessing images remotely.
Traditional Cameras vs Cellular Trail Cameras
Still wondering which type of trail camera you should choose? Learn a brief overview between the two so you can pinpoint the perfect trail camera for your needs:
| Traditional vs Cellular Trail Cameras | ||
|---|---|---|
| Categories | Traditional Trail Camera | Cellular Trail Camera |
| Wireless Connectivity | No wireless connectivity | Has wireless connectivity |
| How Are Images Saved | Saves images on an SD card | Saves images on an SD card and can be downloaded to a cell phone |
| Price | More budget-friendly: anywhere from $20-$70 | More expensive: anywhere from $40-$300 |
| Best For | Better for hunters with property close to home | Great if you live far distances away from hunting sites and can’t easily retrieve the camera |
| Additional Features | Depending on the model, some have an infrared sensor, LED technology, and can record video | Some sophisticated apps allow you to manage cameras, and photos, and track the weather |
Traditional Trail Cameras
With these cameras, you have to physically retrieve the SD card, which can be a convenient option if your hunting destination is nearby or situated on your own property.
-
Certain traditional trail cameras have a capture rate of approximately 1 picture every 1.5 seconds, allowing for detailed and sequential image capturing.
-
Despite the extra legwork involved, traditional trail cameras offer a reliable and hands-on approach to monitoring wildlife activity.
Traditional Trail Cameras Pros
-
Produces high-quality images
-
Won’t scare animals with a bright flash
-
Less expensive than cellular trail cams
Traditional Trail Cameras Cons
-
Can’t view images in real-time
-
You risk scaring wildlife when you retrieve the camera
-
Limited photo storage
Cellular Trail Cameras
Cellular trail cameras provide enhanced accessibility when compared to traditional trail cameras, which could be great if you’re hunting for turkey or deer.
-
With certain cellular trail cameras boasting a capture rate of 1 picture per second, you can expect a higher frequency of image capturing.
-
These cameras offer the advantage of real-time image viewing by connecting your phone to the camera's cellular network.
-
This feature makes them great for security purposes, alerting you to any suspicious activity on your property.
Cellular Trail Cameras Pros
-
Produces high-quality images and videos
-
Less disruption to wildlife, since you don’t need to physically retrieve the camera as often
-
Can take pictures faster than traditional cameras
Cellular Trail Cameras Cons
-
Must pay for a wireless plan every month (roughly $8-$15/month)
-
More expensive than traditional cameras
-
Wireless connectivity drains battery fast
How To Set Up a Trail Camera

Setting up a trail camera is easier to do with two people compared to one. Once you install it, you’ll be able to track the patterns of turkeys, deer, bears, elk, and more. Keep reading to learn how to easily set up a trail camera in just three simple steps:
-
Step 1: Scope Out a Location
-
Step 2: Consider the Placement
-
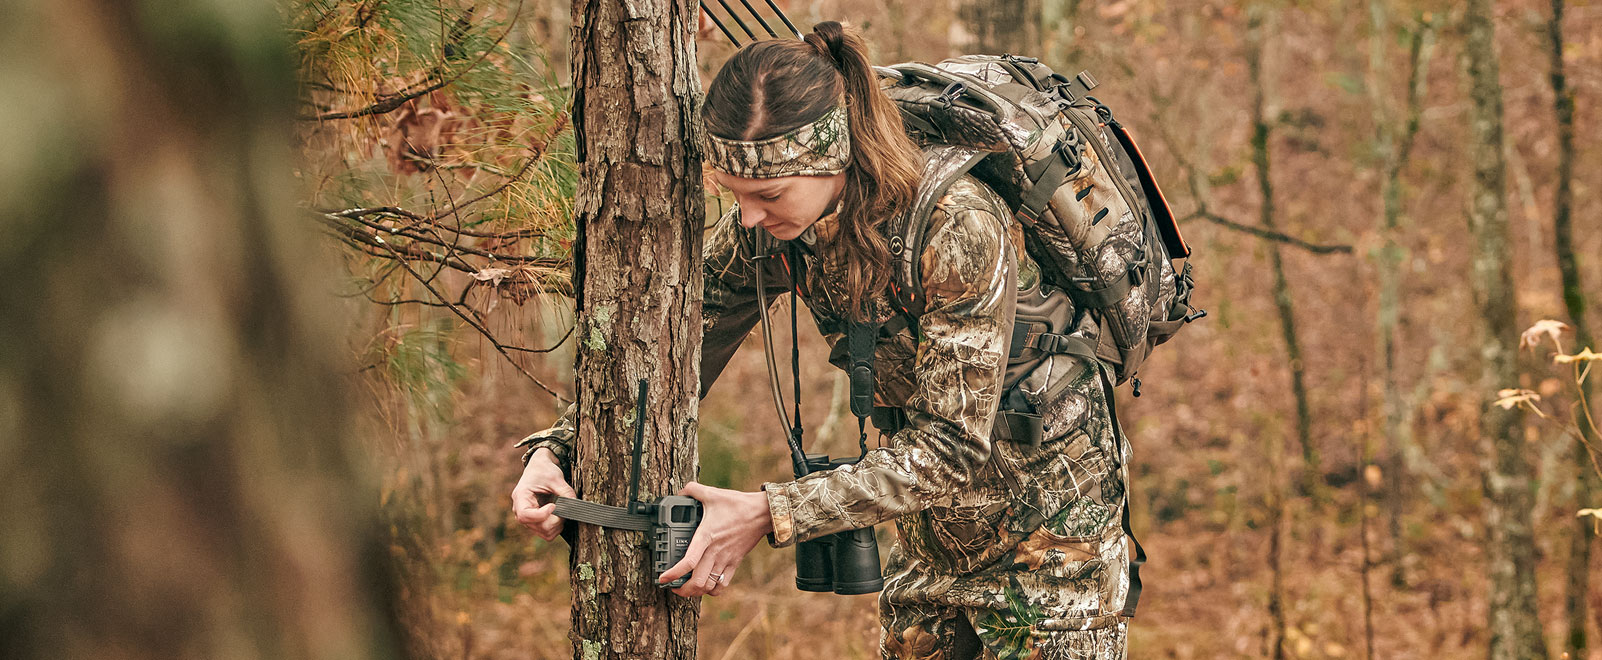
Step 3: Mount Your Camera
Expert Tip:
Learn how to set up your trail camera in more detail with our in-depth guide that helps you watch the best wildlife on your property.
Step 1: Scope Out a Location
If it’s your first time mounting a trail camera, the most important part is deciding on a location. Always get permission first before you place one on private or public property.
-
Choose a tree that faces north to avoid glare from the sun. If you face the sun, this could set off your trail camera and waste all of your SD card’s storage space.
-
Opt for a location that faces a trail or path so you can capture animals walking toward the camera or away from it (rather than getting just a glimpse of their body).
Step 2: Consider the Placement
Once you’ve found a good location, you’ll need to decide how high off from the ground you’ll place it.
-
If you’re looking to capture deer, your camera should be roughly 3 feet off the ground. You can also mount your trail camera higher and tilt it toward the ground for a bird’s eye view.
-
If you’re using your camera for security purposes, position it at eye level so you could capture a person’s face.
Step 3: Mount Your Camera
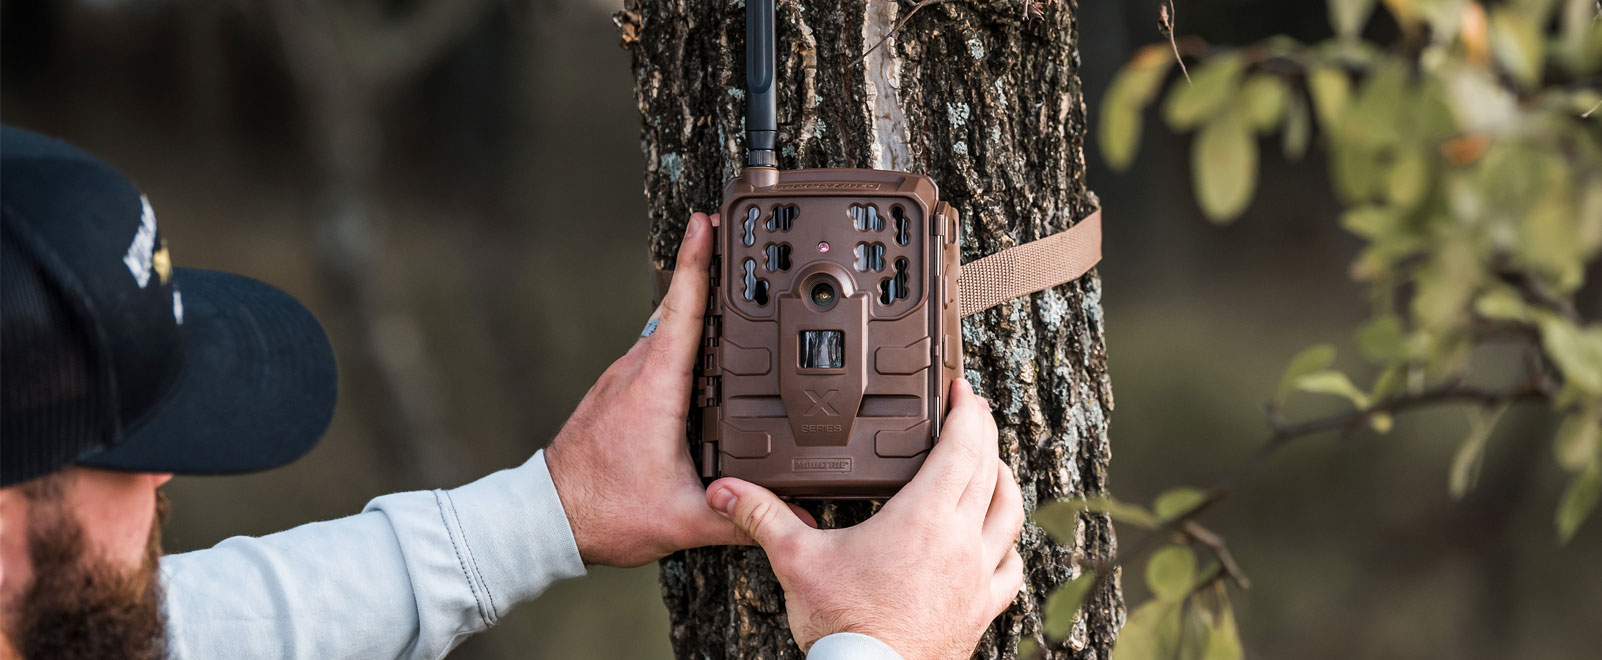
You’ll need to figure out what type of mount you wish to use. Some trail cameras also come with a mounting strap included in the purchase.
-
Decide between a mounting strap, tree mount, or ground mount.
-
Cable locks help to secure your camera from thefts and curious bears.
Expert Tip:
Mounting straps are easy to use and blend into the surroundings. Some tree mounts can pan or tilt to capture wildlife in different directions, and ground mounts are great for areas without trees.
How Many Game Cams Do You Need Per Acre?
For smaller properties, start with one per every 6-8 acres. For larger properties, start with one for every 25-30 acres. But the reality is that no two properties are identical. Some will have a water source — others won’t.
You’ll hear a variety of answers regarding how many trail cameras you need per acre — depending on who you ask. Take the time to get to know your property, and adjust the number of trail cameras based on the activity you observe.
Expert Tip:
You can also start with one for every active food source, community scrape, water source, and travel route leading to either food or water.
Have Fun Out There!
Ready to up your hunting game? Trail cameras allow you to capture everything from bobcats and wild boar to larger game. With a game camera, you can receive real-time images and make strategic hunting moves. Happy hunting!


