 myAcademy® Rewards Credit Card
After the Shot: Getting Your Turkey Home
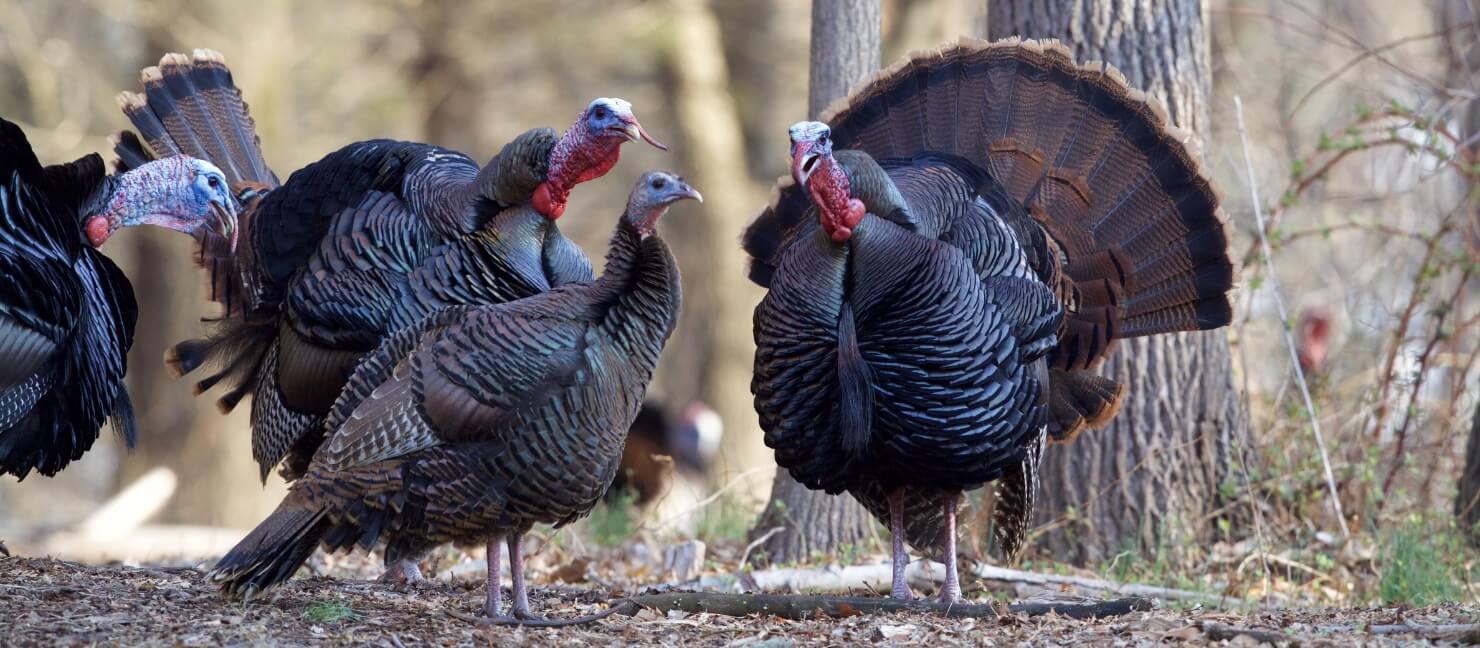
The air is still and the birds are gobbling. You're perfectly hidden in the woods, still as a stone. A tom is two dozen yards away and approaching the area of your calls. You raise your firearm and take aim. Success!
Now it’s time to get that bird home. The time after the kill is crucial to preserving the turkey, and it's very easy to ruin your hard work in these moments if you're not careful. Whether you're an experienced hunter or are new to the sport, you can benefit from this guide to ensure your turkey makes it to the dinner table or your trophy room.
Check the Forecast
Whether you've bagged a gobbler in the spring or the fall, the weather will be a factor in how you get your turkey home. If it's a warm day, after field dressing the bird, you can pack the empty body cavity with dry grass and press the sides of the cavity together. The grass will help soak up any blood, keep insects at bay and help prevent the meat from spoiling.
However, if it's cooler out, the body temperature will naturally lower in the air without bugs getting in. When a bird is carried freely, its body can cool off easily, which helps preserve the meat. Unless the weather is extremely cold outside, you’ll want to avoid carrying birds in a lined game pocket.
If you are a long way from home, you want to make sure you have the proper equipment to preserve the bird during your trip. Having a hard sided cooler filled with ice pack alternatives will help get the bird's body temperature lowered quickly to keep the meat from spoiling. You can also prepare your cooler to keep it chilled during the hunt with leakproof containers of frozen water.
What's Your Goal on the Hunt?
Every hunter has different objectives when they head into the woods. Are you after the tom's trophies, the meat or both? This is an important question to answer well before you begin the hunt because when you take down the bird, the clock starts ticking.
The trophies associated with turkey hunting are the beard, the bird's plumage, the legs, and the spurs.
Beard: All gobblers have a beard located just above the breast. This long piece is actually a collection of modified feathers that make up a stiff bristle. Beards vary in length and offer an assortment of curls and kinks.
Beards provide a glimpse into the age of the bird, although spurs are a more accurate representation. A beard that is hardly noticeable to around 5 inches is indicative of a jake, while a 2-year-old tom boasts a beard in the 9- to 10-inch range. And, typically, any beard longer than 10 inches means the turkey is 3 years or older.
Sometimes you'll find a turkey with a beard that has a ring or a light-colored band. This is caused by malnutrition and the interruption of melanin production. Once the melanin production resumes, the beard will return to its dark color. You may come across a gobbler with multiple beards or even a hen with a beard, too.
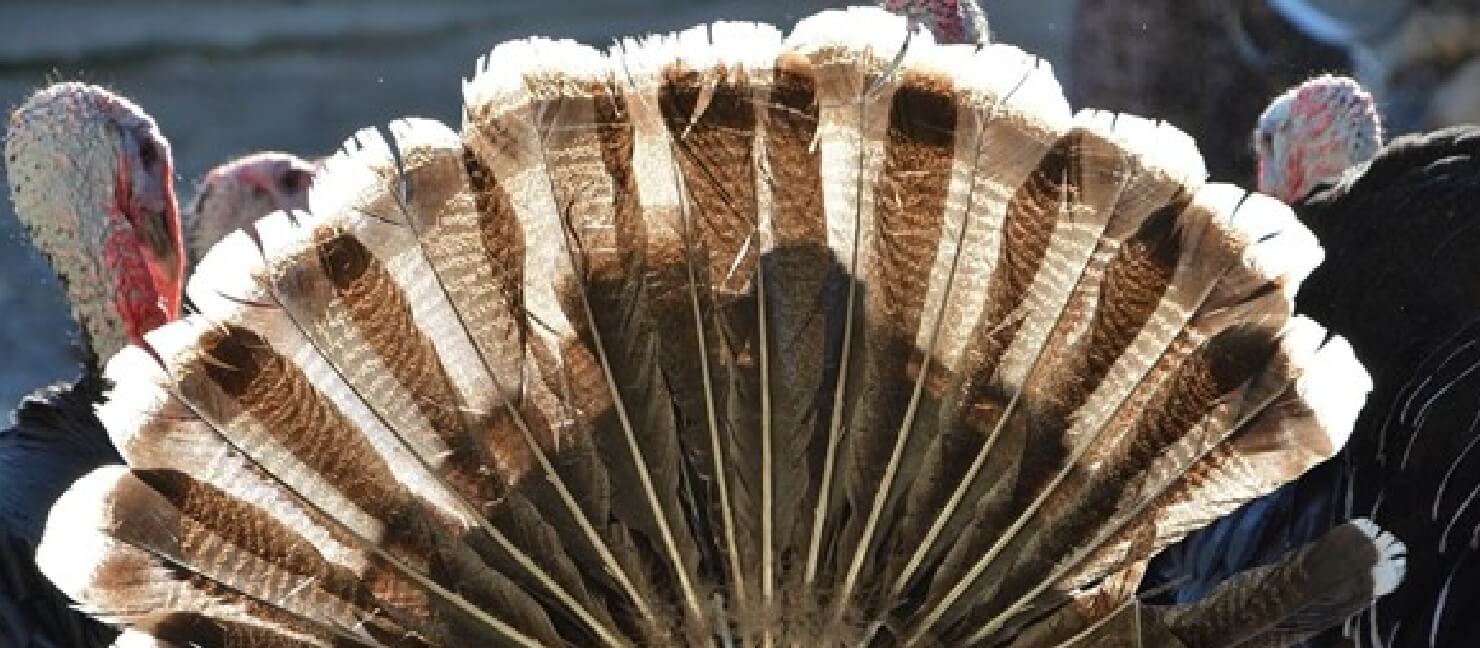
Plumage: A tom's feathers are filled with stunning colors, including gleaming red, green, copper, bronze, and gold. Gobblers use these bold colors to attract hens during the mating season. After a kill, you can remove the tail fan and wings to display in your den or trophy room.
Legs/Spurs: The legs of the turkey contain the spurs, which are a good estimation of the age of your gobbler. Estimation is the key word here, as some spurs can be missing, worn down from being rubbed against rough terrain, or simply smaller than usual.
When a bird is around 2 years old, a typical spur will measure 2 inches long and can feature a variety of colors, including black, gray, pinkish, and pearlescent with dark tips. To gauge the length of the spur, measure along the outside length from the leg to the tip.
After the hunt, you can remove the spurs from the legs or keep all of them intact to preserve them for display.
After the Shot: What Are Your Options?
You've done your homework – scouting, tracking, and roosting the birds – but now what? Prior to heading into the woods, you should decide on what you’ll be doing with the bird to ensure your shot translates into success.
- Do you want to cook the meat?
- Would you prefer to honor the hunt with a mount of the animal?
How you handle the turkey after the shot will vary depending on whether you choose taxidermy or choose to cook the meat. And you have a couple of options for how you process the bird when you choose to cook it. The options include:
- Taxidermy
- Field Dressing
- Plucking
- Skinning
Most importantly, you should check your state's hunting regulations to ensure your turkey is properly tagged.
Taxidermy Doesn't Have to be Taxing
Perhaps you've had a successful hunting season and have plenty of turkey meat at home, or maybe you've brought down a legendary, trophy-worthy tom – either way, a great option for memorializing your turkey hunting triumph is with taxidermy.
As Kentucky outdoorsman and author, Jarrod E. Stephens, says in an article for the National Wild Turkey Federation, "A mounted animal is more than an investment; it's a trophy to remind you of your past successes."
By using a taxidermist, you'll be able to preserve the brilliance and beauty of the bird for years to come. But before you even step foot in the woods, you should do your due diligence to find a taxidermist that meets your needs.
Why Should You Shop Around for a Taxidermist?
For one thing, by doing the research and looking around for a taxidermist, you'll be aware of the quality of and pricing for the work, so you're not caught off guard after getting the bird home. Plus, your taxidermist may have specific instructions on taking care of the turkey after the kill. When the bird is in good condition upon arrival at the taxidermist, it'll make their job easier for preserving the animal.
If you're finding that there isn't a taxidermist near you locally, it is well worth the extra money to ship it to a reputable professional. By spending a little more on someone who is highly recommended, you'll receive a worthy trophy that can be passed down to later generations.
It's also important to prepare your pack with the right gear for preserving the animal before getting it to the taxidermist. If you're leaning toward the taxidermy option, make sure to bring along these items:
- Cooler to ensure proper storage and to lower the body temperature.
- Paper towels and cotton balls to soak up any fluids.
- Large plastic bag and/or pantyhose to help preserve feathers during storage.
During the Hunt
When turkey hunting, the goal is for a clean head and neck shot from the side for an instant kill. Whether you're looking to preserve the bird or want the meat, this is a good practice to get into. If you fire a head-on shot, your turkey shot is bound to shred the tail feathers, which will all but destroy arguably the most beautiful part of the bird.
Once you've shot the animal, it may thrash for a few minutes. Wait for it to stop, and then pick up any loose feathers to send to the taxidermist along with the bird. The taxidermist can fill in missing spots with the loose plumage.
After the Kill
After the bird is down, you want to work quickly to preserve the animal. Keeping the feathers clean and dry is goal number one. This can be accomplished by stuffing paper towels or cotton balls into the bird's mouth and vent (anus) to help prevent blood and other fluids from flowing out of the animal and ruining the feathers.
Prior to doing so, check to see if the vent has a partially formed dropping on the way out and move it along. If there are other wounds on the bird, pack those too to help soak up the blood, and wrap the head in paper towels to help prevent further blood flow onto the feathers.
Once you've packed the turkey and stemmed the flow of fluids, it's time to get the bird in storage. Grab pantyhose, a large plastic bag, or both, and carefully place the bird inside without scrunching or bending the tail feathers. The stretchy material of the pantyhose will help keep the feathers in place. Simply cut pantyhose from the thigh area and tie up one end, then place the bird inside head-first and gently pull the stocking over the whole body.
The next step in preserving the animal is dropping the core temperature to prevent it from spoiling. Your cooler should be large enough to house the full bird without bunching the feathers, and it should be pre-cooled.
Place the bird inside the cooler to start lowering the body temperature immediately, and if it will be several hours before you get the animal to the taxidermist, consider freezing the bird. Also, you don't have to worry about field dressing the turkey, as many taxidermists will do that themselves – they'll probably also instruct you to do so or not when you speak to them before the hunt.
If you're planning on storing the animal, make sure you have enough space to freeze a bird for an extended period. And definitely don't pile other items on top of the body – that’s a quick way to ruin the feathers.
Don't be afraid to ask your taxidermist for shipping tips if you are going to ship the bird to them, as professionals should be aware of the most up-to-date airline regulations.
There's Nothing Like Freshly Cooked Wild Turkey
The tradition of turkey hunting began in the autumn months, with hunters even bagging their own Thanksgiving dinners. Anyone who has tasted the meat of a wild turkey knows there is no comparison, and with these step-by-step instructions, you'll be able to take down a tom and get it ready for cooking.
Field Dressing
Simply put, field dressing is removing all the bird's organs while keeping the feathers on. This method helps the animal's body cool faster and helps prevent the meat from spoiling.
If it's a cool day or you have a short trip, you can probably skip this step until you're home. If you've already plucked the feathers to cook the whole turkey, the field dressing steps outlined below will also show you how to remove the animal's entrails.
- Lay the bird down on its back.
- Locate the breastbone, which will be in the center near the base of the neck. Follow along the breastbone to the rear of the bird until you reach the narrow point between the legs.
- Pluck a few feathers from this area, pull up the tip of the tail, and make a shallow, horizontal cut just through the skin at the top of the vent, making sure the incision is large enough to fit your hand.
- Reach in and pull out the entrails, windpipe, heart, and lungs.
- Separate the liver, heart, and gizzard, and save them for making savory turkey gravy. Just make sure to open, empty, and properly clean the gizzard before cooking.
- Once all the organs have been removed, follow the intestine, and cut around the vent. Make your cut precise so you don't puncture the intestine and let the contents get on the bird.
- Remove the head by making a cut high up on the neck. The neck contains a lot of meat that is great for stew.
- Make a cut on the turkey's neck and reach in to remove the crop, which is located at the top of the breast. Be gentle when removing the crop, as this is the bird's food storage organ and if it gets punctured, it can be messy.
- After the organs have been removed, rinse out the carcass with water and wipe it down with paper towels, or pack it with dry grass if you're still in the field.
- Place the bird in a cooler to start lowering the body temperature and keep the meat from spoiling.
Plucking the Bird
If you're planning to roast, smoke or deep fry the turkey whole, the steps below will show you how to get the bird ready for cooking by removing all the feathers and the organs. By keeping the skin on the animal, the turkey retains its moisture and savory flavor.
Knowing that you want to cook the bird whole prior to the shot is essential, as a turkey has more than 5,000 feathers, and plucking them before removing the entrails will help keep the feathers from getting into the body cavity.
- If it's been a few hours since the kill, you'll want to dip the bird in hot water between 140° and 180°. This hot water bath will scald the feathers and make them easier to pull off without tearing the skin. Plus, the feathers will be damp, so they won't fly around while you're working.
- Place one hand on the bird and use the other to pull a small chunk of feathers. This will help prevent the skin from tearing.
- Stretch out the wings and remove them entirely at the first joint past the shoulder. By doing this, you'll avoid having to pull out the larger primary feathers.
Plus, you'll be able to leave the plumage intact if you choose to make a stunning trophy later. As wing trophies are displayed with the back showing, you can cut the skin open on the underside of the wing to remove the wing bones to make yelpers for future turkey hunts.
Just make sure to replace the bones later at home with thin wood or stiff cardboard to help the wings stiffen in place properly. Once the wings are placed in the position you want, apply a dry preservative and place heavy objects on them to hold them in place while they cure.
- If you held the turkey by the legs while dipping it into water, you can remove them now by using a sharp knife to cut on the leg joint and bend it back the other way. This will help preserve the trophy spurs.
- After the bird's feathers have been removed, you can now remove the bird's organs.
How to Skin a Turkey
Skinning a turkey is the process of removing all the skin on the bird, filleting the breast meat, and removing the legs and thighs for cooking. This is a quick and easy method for harvesting the meat without having to open the turkey.
Before you start skinning the bird, you can save the tail fan or cape for mounting:
- Take precaution to protect the tips of the feathers.
- Approach the bird from behind.
- Cut the skin across the middle of the back and peel the skin toward the tail.
- Cut the tail off the bird where it narrows just before the pope's nose (the part that holds the tail feathers), leaving some of the back skin with the tail. Make sure to save the secondary feathers as well to create a display.
- When you arrive back home, fold the fan closed and use your knife to cut away the triangle-shaped base and scrape away as much meat and fat from the feather quills, skin, and bone.
- Make a 50/50 mixture of sodium borate and salt and apply it to all the exposed surfaces to dry them.
- Spread open the fan and allow it to dry that way. Lay the fan down on a piece of cardboard and use small hat pins to hold the feathers in place, adjusting your liking, as once the fan dries, it'll be very hard to make changes.
Place another piece of cardboard on top and tape them both together to dry for a few days. Once dry, remove any sodium borate/salt excess and use a hot glue gun to affix the smaller feathers to the base and bare spots.
Once you've removed the tail fan or cape, you can remove the beard. Cut off the beard, making sure to leave a small piece of skin at the base, which will help keep the bristles together.
Filleting the Breast Meat
- Lay the bird down on its back.
- Locate the breastbone and pluck some feathers from the middle of the breast.
- Make a small incision through the skin.
- Work your fingers underneath the skin to pull it back down to the sides of the turkey, exposing the meat.
- Find the center of the breastbone.
- Pick up your fillet knife and place it at the bottom tip of the breast and move forward.
- Gently pull the fillet while you slice down one side to properly separate the meat from the bone.
- Be aware of the turkey crop, which sits near the top of the breast and can make a mess if it gets punctured during filleting.
- Remove the breast from the bird.
- Repeat on the other side.
Skinning the Legs and Thighs
- After filleting the breast meat, flip the turkey over onto its breastbone.
- Cut through the thigh muscle where it connects to the back.
- Bend the leg up and toward the backbone until the ball joint pops loose through the meat.
- Continue cutting until the leg is free from the body.
- Cut through the leg joints to separate the drumsticks from the thighs.
- Repeat on the other side.
Once the parts are separated, trim away any extra tissue and wash the meat down. Then, you can dry the meat with paper towels, place all parts in plastic storage bags and put the bags into your cooler or freezer, or you can prepare them for cooking.
Turkeys are a notoriously tough bird to hunt, which makes taking one down that much sweeter. Don’t let all your hard work go to waste after the kill. With these step-by-step instructions and the right turkey hunting gear from Academy Sports + Outdoors, you can easily preserve your bird for the trophy room, freezer or dinner table.