 myAcademy® Rewards Credit Card
Learn How To Change + Install Sights on a Pistol the Easy Way
Why Gun Owners Change Pistol Sights
Many gun owners choose to swap out their pistol’s factory sights as their first aftermarket modification for different reasons. Pistol sights offer a variety of features based on the types offered on the market. There are two primary reasons you might opt to change factory sights:
To upgrade to a specific brand
To optimize a pistol with a sight better suited to a specific activity or use
Whether you’re looking to avoid paying an expensive gunsmith or you need to change out your pistol sights on a tight deadline, knowing how to properly change sights can help you protect your pistol’s condition.
Tools Needed To Change or Install A Sight On Your Pistol
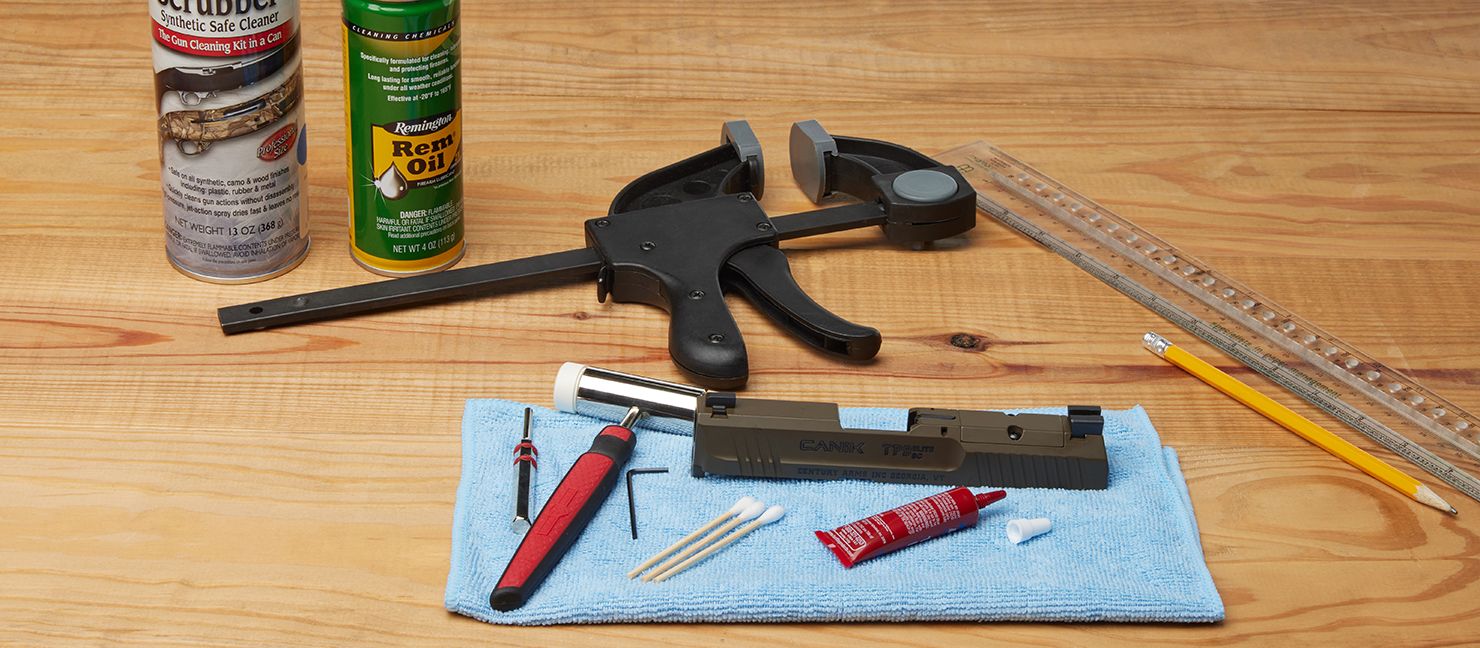
This guide is aimed to be as universal as possible; however, keep in mind that your particular pistol may require additional tools than we list below. If in doubt, check your owner’s manual or contact the manufacturer when you have any questions about what you need.Changing and installing your new sights doesn’t have to be complicated (or expensive)! You’ll just need a small stash of tools to complete the job:
| Essential Tools for Changing Pistol Sights | |
|---|---|
| Tool Name | Description |
| Gun Scrubber | Use Birchwood Casey 10 oz Synthetic Gun Scrubber to keep your pistol in top condition. This quickly cleans your gun without damaging it. |
| Rem Oil | Use Remington Rem Oil to clean the toughest dirt and grime on metal surfaces while also displacing moisture |
| Hammer & Pin Punch Set | Use the Real Avid Accu-Punch Hammer and Pin Punch Set or the Wheeler Engineering 15-Piece Hammer and Punch Set to maneuver the sights in and out of the slots on your pistol’s barrel. |
With the specific tools aside, you’ll also need a few other household tools or other supplies you might already have on hand to help make this process easier:
Trigger clamp or gun vice
Cotton swabs
Lead pencil
Ruler
Liquid thread locker (like Loctite)
Microfiber towel
Needle-nose pliers, front sight tool, or a hex wrench
Expert Tip:
To give your new sight a more secure fit, you can apply thread locker to your new sight and screw at the time of installation. Use the blue semi-permanent variety when you plan to replace your sights again fairly soon. The red is best suited for permanent sights.
How To Change or Install Dovetail Sights
With dovetail being the most common sight attachment method, the following is a step-by-step guide to successfully swapping out your dovetail-secured sights. Keep in mind that swapping the sights on your pistol is a bit of a different process than sighting a rifle – which you can find out more about here.
Sight Removal
During this process, eye protection can help ensure debris or wayward sight particles don’t hurt or impair you in any way. As always, you should make sure your gun is completely unloaded and pointed in a safe direction away from others or yourself. To begin, field strip your pistol so that the recoil spring and the barrel are removed from the slide.Ready to install your new sights? Here’s how to remove your existing sights the right way:
Rear Sight
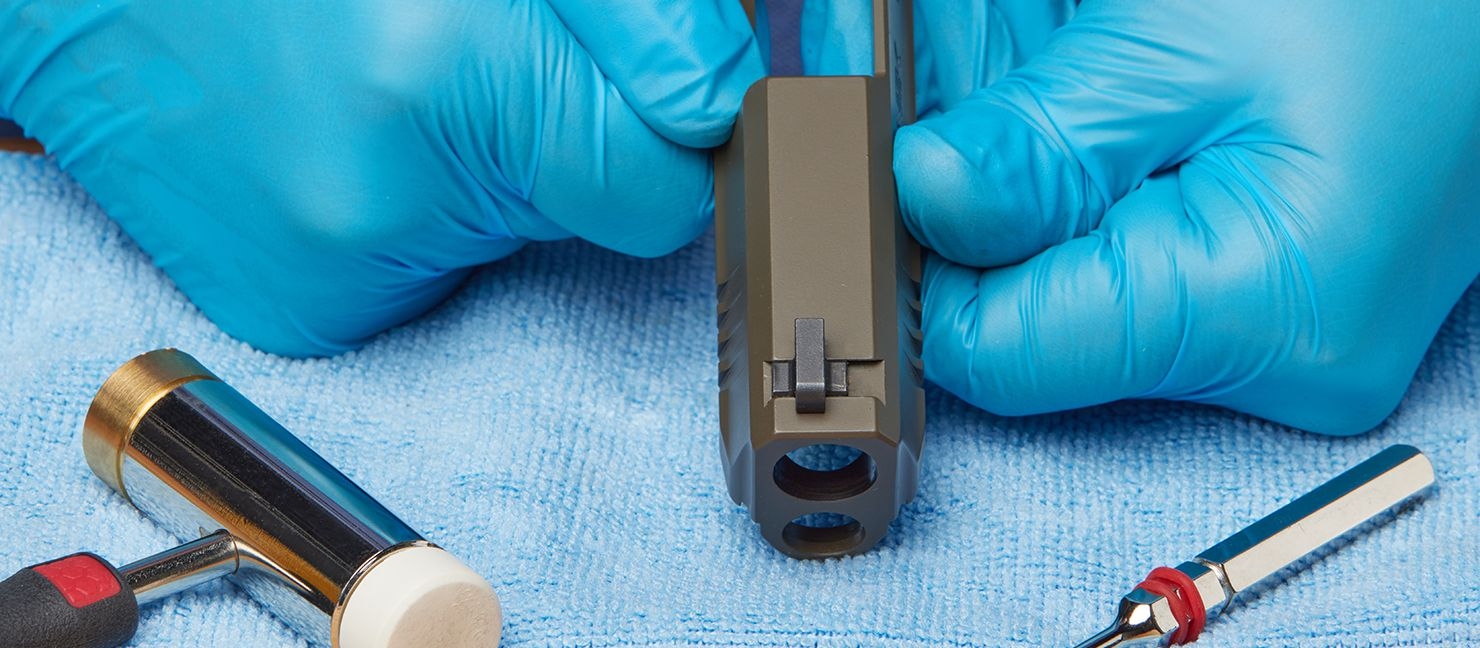
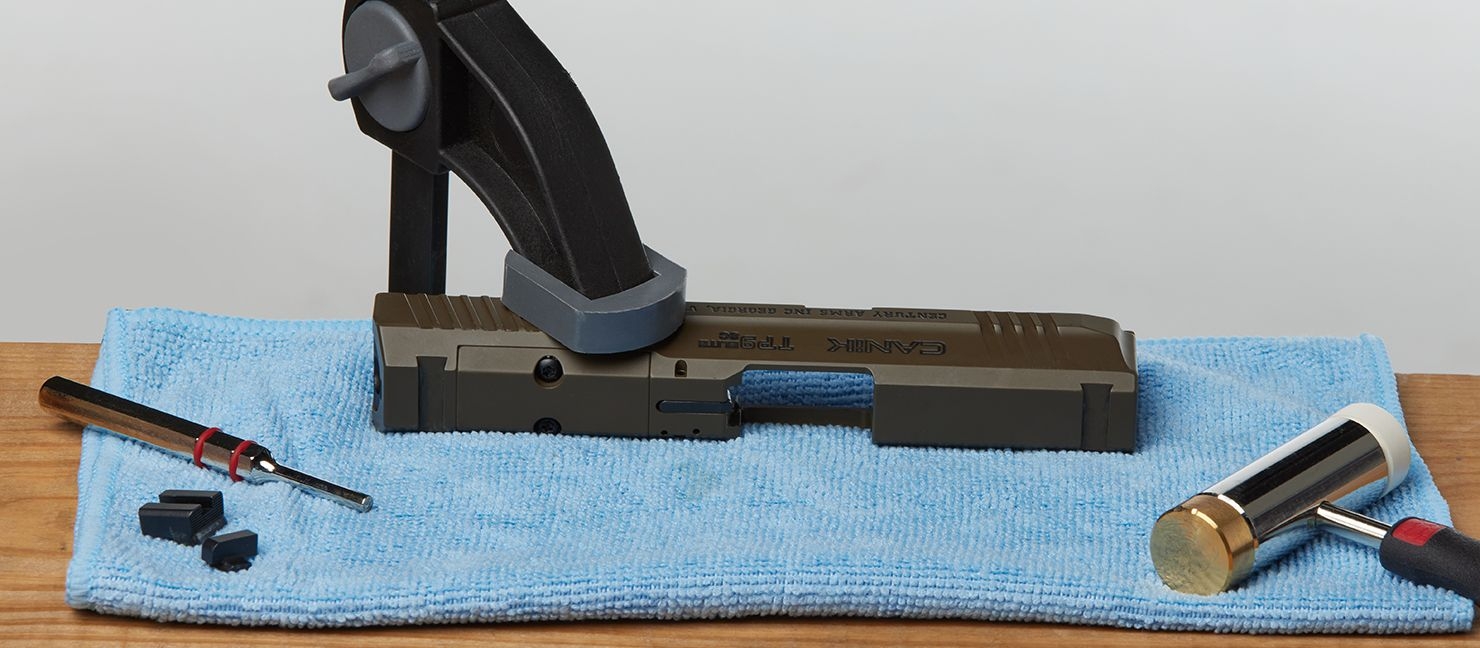
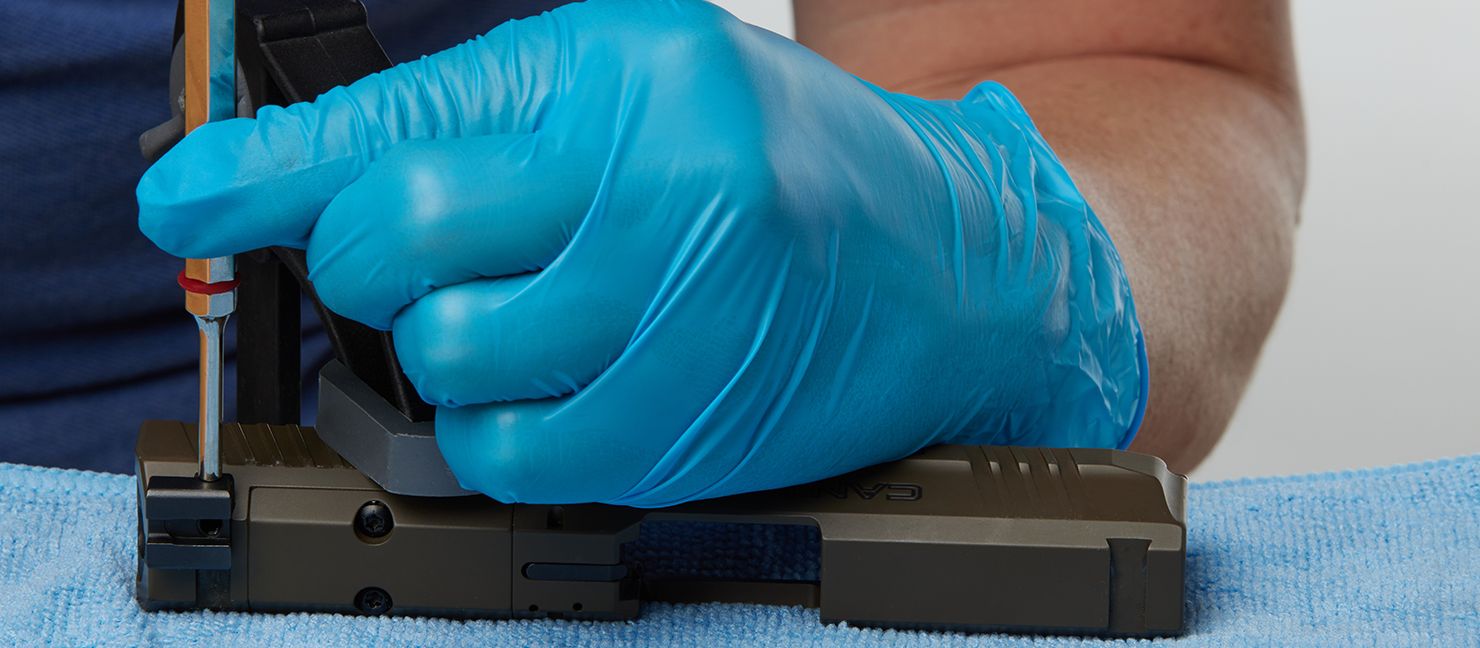
Step 1: Secure the existing sight to the barrel using a trigger clamp and table or a gun vice.
Step 2: Line up your punch and hammer. Tap the hammer against the end of the punch. You’ll begin seeing the rear sight move out of the slot. If your sight isn’t moving much, use some Rem Oil to help lubricate the area.
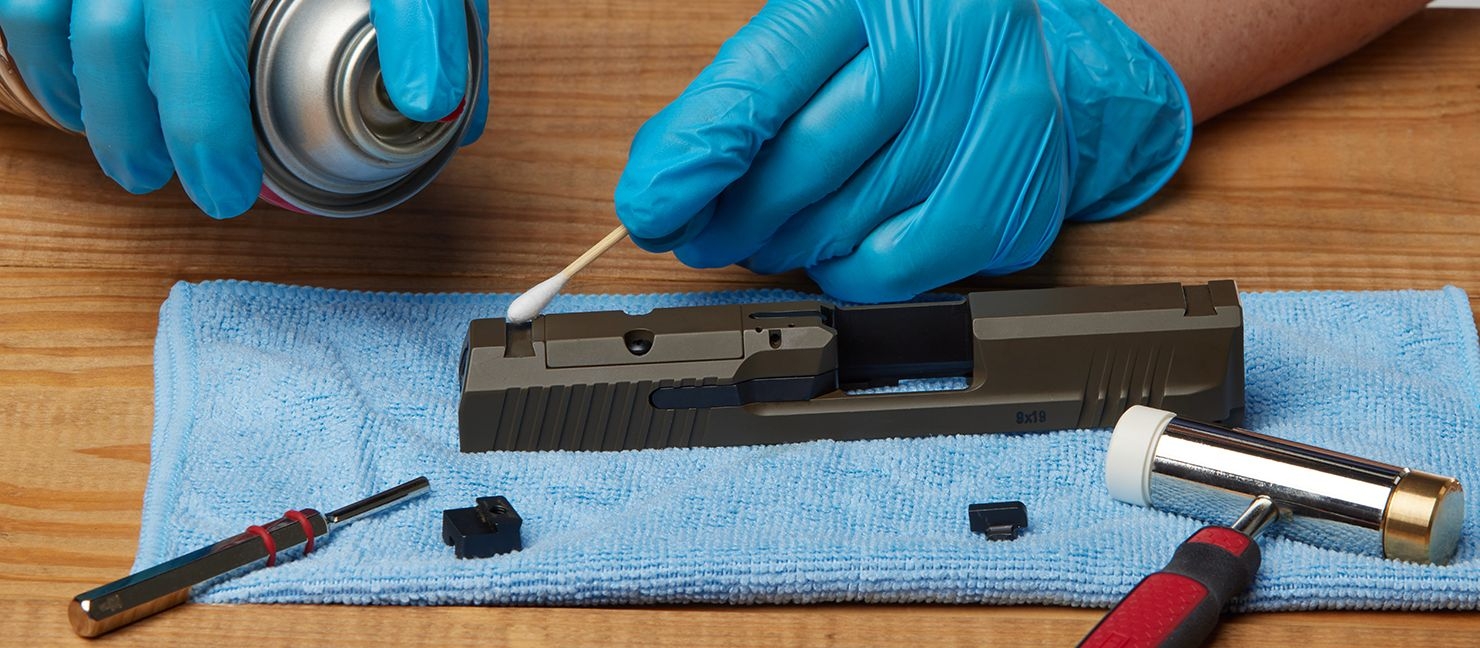
Step 3: Use cotton swabs with the Gun Scrubber to remove grime from the slot. Make sure to completely dry any remaining residue when the area is thoroughly cleaned.
Expert Tip:
For the least amount of potential damage on both your pistol and existing sights, use plastic or nylon punches. Metal punches are perfectly safe to use. Just move at a slower pace and use less pressure with the polymer side of your hammer.
Front Sight
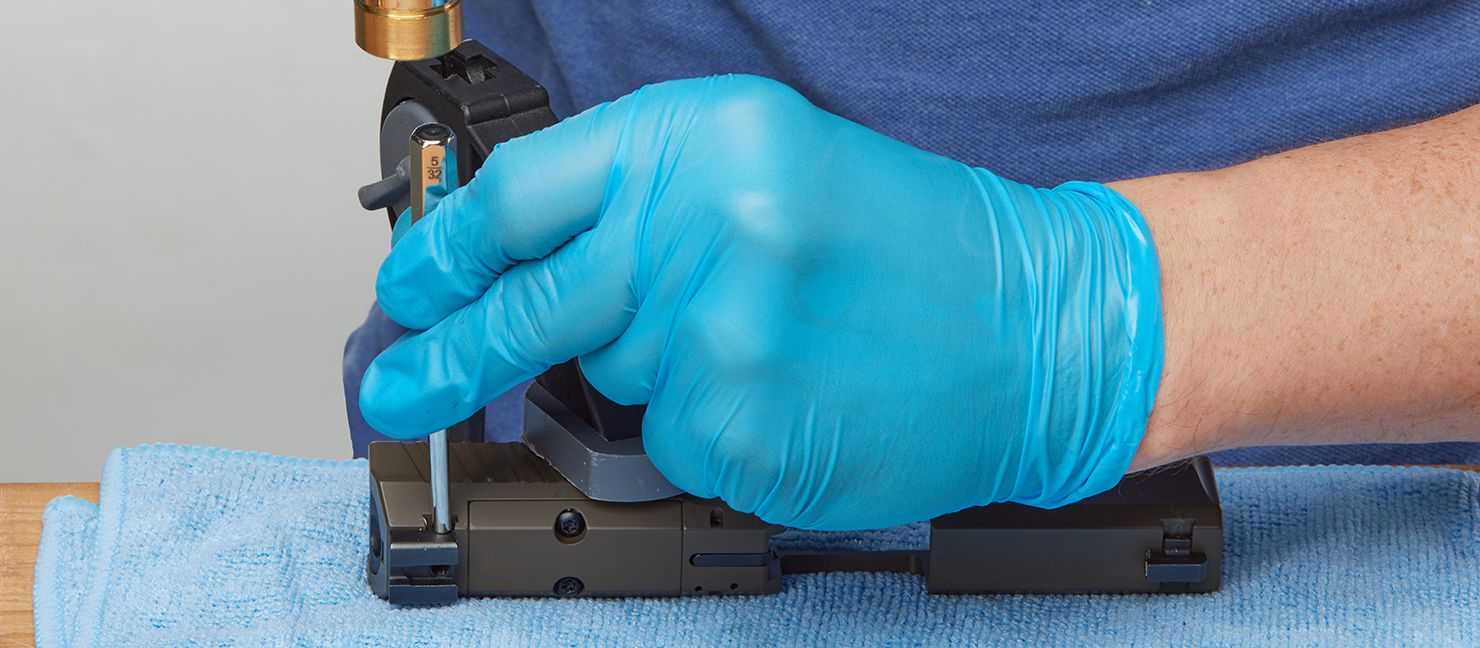
Step 1: Remove the small hexagonal-shaped screw that secures your front sight to the slide using needle-nose pliers, a front sight tool, or a hex wrench.
Step 2: With the screw out of the way, you’ll be able to repeat the same steps for the rear sight. If your pistol doesn’t have a slide slot for the front sights, you should be able to pull the existing front sight out of its place after you remove the screw within the barrel.
Step 3: Clean the slide slot if you feel you need to by repeating step 3 for the rear sights section above.
Sight Installation
Now that you’ve removed your existing sights and cleaned up your slide to ensure a secure fit, you are ready to install the new sights. Before attempting to move and install your new sights, you should be aware of their dovetail dimensions to ensure they are compatible with your barrel. When you’re confident you have a perfect match, it’s time to start the installation!
Rear Sight
Step 1: Line the new sight up with the slot and use your fingers to gently insert the sight from right to left. Make sure that any dots or markings required for sight lineups are facing you. The sight should easily slide in about one-third of the way before giving resistance.
Step 2: Secure the existing sight to the barrel using a trigger clamp and table or a gun vice.
Step 3: Line up your punch and hammer. Tap the hammer against the end of the punch. You’ll begin seeing the rear sight move into the slot. Continue doing this until the sight is fully inserted into the slot and appears centered.
Front Sight
Step 1: Insert the new sight from right to left into its slot using your fingers or by gently easing it with the hammer and punch. Make sure that any dots or markings required for sight lineups are facing you.
Step 2: Center sight on the slide.
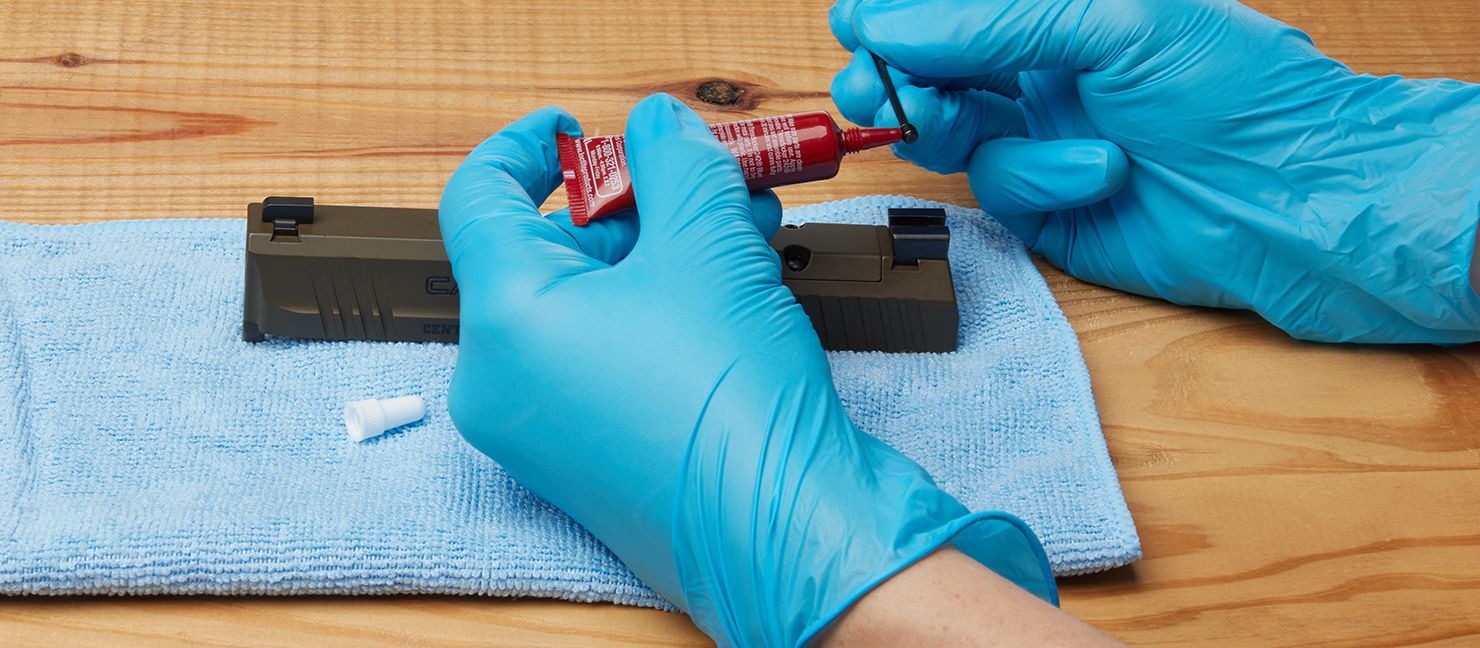
Step 3: Place a small dot of liquid thread locker onto the pointy tip of the screw included with your new sight.
Step 4: Insert the screw with the thread locker into the hole on the slide.
Step 5: Tighten the screw using needle-nose pliers, a front sight tool, or a hex wrench.
Sights Alignment
After ensuring both your front and rear sights are visually centered during the installation process, you’ll need to take a trip to the gun range and see how your rounds are landing to make more specific alignment adjustments. If you’re wondering how to measure your pistol sights for more accuracy, here’s a quick guide:

Windage Adjustments
When shooting, if you find your rounds land more to the right or left of where you’re aiming, you need to adjust your windage. You can adjust the windage by doing one of the following:
Drifting your front and/or rear sight side-to-side
If you've purchased an adjustable rear sight, it likely has a small pin or screw included that can be turned to quickly make this adjustment
Expert Tip:
To zero your pistol, always adjust your rear sight in the same direction you want your rounds to land. Adjust your front sight in the opposite direction you want your rounds to land.
Elevation Adjustments
If your rounds land above or below where you aim, adjust your elevation. On an adjustable rear sight, there’s usually a small dial that you can quickly and easily turn to make the necessary changes. If yours does not have one, you may need to swap out your front sight for one with the correct elevation.
If you have elevation problems on a fixed sight, you likely need to purchase and install a shorter/taller front sight. This is why front and rear sights are often sold as sets to fit specific pistol models. Want to know how to change out fixed sights? Keep reading!
Expert Tip:
If you shoot too high, you need to get a taller front sight, since taller sights force you to lower the end of the muzzle. If you shoot too low, you’ll need a shorter front sight so you then lift the muzzle when you shoot.
How To Change or Install Fixed Sights
While dovetail-secured sights are the most common, sights can be affixed to your pistol with more permanent means — like being welded or soldered on. You’ll easily be able to tell if your sight is permanent (or fixed) or not just by looking at your sights.
Adjusting Existing Fixed Sights
But while fixed sights might mean they’re unmovable, that doesn’t have to mean un-adjustable – it just might take a little more elbow grease! As we mentioned above, you’ll need a shorter front sight if you shoot too low. Admittedly, adjusting fixed sights when you shoot too low is a bit easier of a process than when you shoot too high.
Step 1: Using a gunsmithing file, gently file the top of your fixed front sight on a flat surface.
Step 2: Look down the barrel of your pistol to ensure you file down your front sight evenly.
Step 3: When you’re at the range, practice shooting with the new elevation. If it’s still too low, repeat the process as necessary until you’re happy with the result.
Expert Tip:
Remember — you’ll need a taller front sight if you shoot high. Adjusting your fixed front sight to be taller isn’t possible, so keep reading to find out how to change out smoldered sights to find the perfect elevation!
Changing Soldered Sights
Removing soldered sights does require more advanced tools and attention to detail. But it’s certainly not too hard or impossible! Here’s how to change your soldered sights:
Step 1: Break off old sight (using pliers), or remove old solder (using a soldering iron).
Step 2: Remove any traces of old solder (using a soldering iron).
Step 3: Test fit the new sights. If they are too large or have too much overhang, you can use a file to remove small amounts of material at a time.
Step 4: Place the test-fitted sight in its final position and apply new solder.
Frequently Asked Questions
Q. How are sights secured on a handgun?
Pistol sights are most commonly attached to the gun in a dovetail fashion. This securing method requires a small trapezoidal sight with overhanging bottom edges to be inserted into a slightly smaller notch on the gun’s slide or barrel. When the sight is slid into the slot – from right to left – the angled cuts at the bottom of the sight lock it in place to maintain sight alignment.
It is important to note that while dovetail sights are considered fixed by nature, they can be adjusted somewhat. Adjusting (or drifting) a dovetail sight allows for some windage (or side-to-side adjustment) but does not offer vertical adjustment. With this in mind, if you’re wanting more adjustment than drifting can provide, you’ll need to replace your existing sight.
Q. How can I improve my accuracy without replacing my sights?
If you want to improve your overall accuracy without purchasing or installing new sights, there are plenty of ways to accomplish this. Here are our recommendations:
- Perfect your grip: Make sure your gun is not too heavy. You should always be able to comfortably reach all of your controls. When you get the chance, head to the range and practice. Point your pistol at the target and fire, making sure to hold your arm as firmly as possible to control the recoil. When the shot is fired, make sure your muzzle still points at your target.
- Work on your stance: A solid stance makes for a great shot from the ground up. When shooting, be sure to stand firmly with your feet shoulder-width apart with your torso bent slightly forward. When you fire, maintain your solid grip and recoil control and don’t shift your weight.
- Perfect your trigger control: Pulling the trigger quickly jerks your gun around and hinders your accuracy. However, a slow and controlled pull of the trigger keeps your shot on target. Next time you’re at the range, practice this slow and controlled technique to get it ironed into your muscle memory.
- Practice dry-firing your gun: Dry-firing is a great practice method and can be done at home, making it extra convenient for consistently improving your accuracy. Although dry-firing doesn’t feel quite the same as firing at the range (a dry-fired pistol won’t recoil), it’s a very helpful practice that should help you stop anticipating the recoil that often causes new gun handlers to jerk and alter their grip and stance.
- Control your breathing: Controlling your breathing can have a positive impact on your accuracy. Since your chest and upper body move while you inhale and exhale, keeping that movement to a minimum mid-shot is ideal. You don’t need to hold your breath, though! While people have different preferences, many gun owners feel the most stable and in-control firing just as they’ve fully let out an exhale.
Expert Tip:
Your gun-handling skills will improve when you feel comfortable with your firearm. Learning about your particular gun and practicing with it consistently at the range will improve your confidence and your shot.
Next Steps
Whether you’re looking to improve accuracy, visibility, or just want to upgrade past your factory-installed set, replacing your sights is a great way to improve the look and performance of your pistol. If you’re ready to find your next set of pistol sights, head over to the Pistol Sights Shop online or in-store at Academy Sports + Outdoors – and remember to always practice safe gun handling techniques.