 Gift Cards
 Hot Deals
 Big Fun Deals
 Clearance
A Complete Guide on How to Clean and Maintain a Rifle Barrel
WriterAubrey McShan
10 min read
Paying close attention to the condition of your firearms is just another part of responsible gun ownership. Beyond their aesthetic impact, corrosion, rust, and buildup from dust and gunpowder (all of which are collectively called fouling) can threaten the integrity of your gun.Whether you are at hunting grounds or the shooting range, keep your rifle in its best condition with regular cleaning. You can avoid malfunctions and misfires and ensure the safety of yourself and those around you. Let’s begin!
How To Clean a Rifle Bore in Just 6 Steps
How you clean a rifle will greatly depend on whether you are field stripping or doing a complete disassembly. While there are many different types of rifles and know that no two marksmen clean their rifles the same way, you should refer to your particular rifle’s owner’s manual for specific instructions on how to safely access the bore for cleaning.Before proceeding, you’ll also want a basic understanding of the major parts we mention throughout this guide. We break down the anatomy of a hunting rifle here.
Step 0: Safety First
As with any time you handle a firearm, safely handling a rifle is a crucial step when cleaning your rifles. Before taking the following steps, make sure the gun is completely unloaded.
Step 1: Assemble Your Rifle Cleaning Kit
Before you clean your rifle, gather the right tools. Investing in your own cleaning kit means you’re able to keep your firearm in proper working order and protect the barrel from damage.For this guide, we’ve chosen to focus on the simplest way to clean a rifle to make this as accessible as possible. We’ll mention the following tools throughout this step-by-step guide that you’ll need to proceed:
Gun vice or cleaning rack
Rifle cleaning rods & accessory adaptors suited to your rifle’s caliber
Lubricating oil
Gun cleaning solvent
Cleaning patches
Jags & brushes
If you don’t already have these items on hand, the Redfield Gun Cleaning Toolbox is the perfect toolkit for maintaining your rifle. It includes everything except the lubricating oil and the cleaning solvent.
Step 2: Prepare Your Workspace & Secure Your Rifle
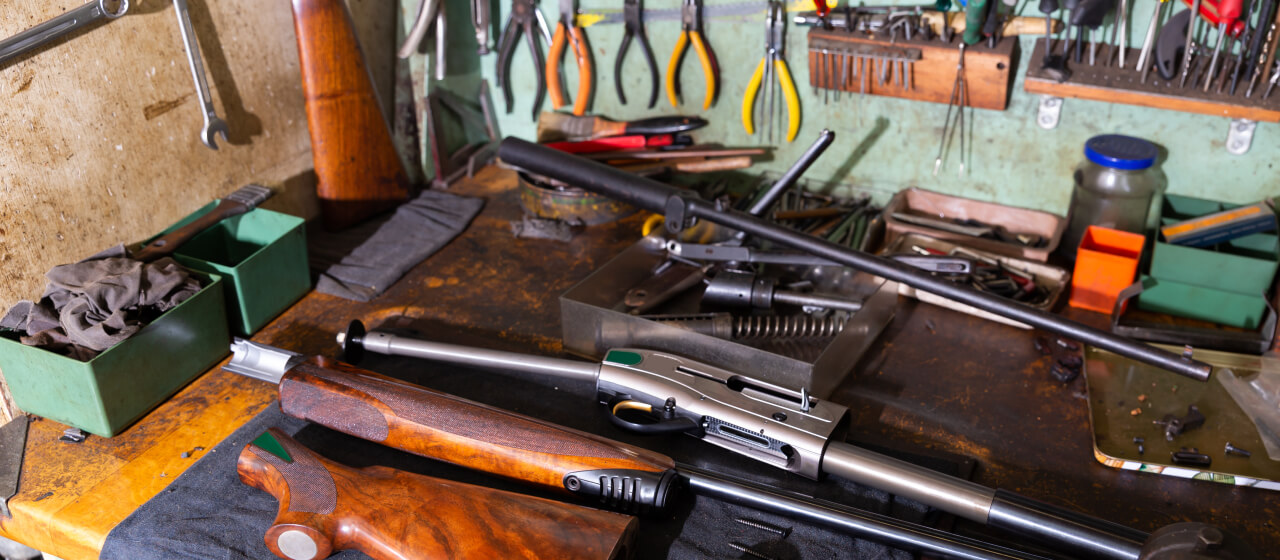
Once you’ve confirmed it’s empty, prep your workspace so that it is well-ventilated and free of ammo. You’ll want to secure your rifle. A gun vice can help you do just that by giving you a hands-free experience.
Begin by soaking a small stack of patches with cleaning solvent.
While they soak, secure your rifle in the vice with the barrel angled slightly downward. Cover your scope to protect the lens from solvents or being scratched by a brush.
Remove the bolt (the moving block that seals cartridges within the chamber) and clean it by wiping it with a few drops of lubricant on a clean patch.
Expert Tip:
If you don’t have a vice, rest the gun against the wall with the barrel down and a rag under the muzzle to protect the metal and soak up any solvent.
Step 3: Apply Solvent To the Bore With a Cleaning Rod
The next step is to apply your solvent to the bore with a cleaning rod. The bore is the interior of the rifle’s barrel and can accumulate fouling and/or other debris over time.
To do this, pierce one of the pre-soaked patches with a jag attached to the end of the rod.
Starting from the breech-end (the closest to the action) of the rifle, run it up the bore once per patch. Repeat this three times — each pass using a new pre-soaked patch.
Let the solvent sit for a few minutes, so it has time to break down the fouling in the bore.
Wipe off your cleaning rod with a paper towel.
After, switch to a copper brush that’s been soaked in the solvent. Run this copper brush through the bore at least ten times to fully remove any grit, grime, and other fouling inside.
Next, use a copper or bronze bore brush that’s been soaked with solvent and run it through the bore at least ten times to fully remove any grit, grime, and other residues inside.
Expert Tip:
Make sure to thoroughly clean and dry your brushes in between rifle cleanings for the best results.
Step 4: Switch To Clean, Wet Cleaning Patches

Using the jag and rod, run about 4-6 wet patches one at a time through the bore until they come out nearly white (i.e. without carbon residue). The first 1-3 wet patches will be covered in fouling, but they will get progressively cleaner as you go. You may need to run more clean wet patches depending on how dirty your rifle is.
Step 5: Use Clean, Dry Cleaning Patches To Soak Up Excess Solvent
Run 3 to 4 dry, lint-free patches one at a time through the bore to remove any remaining solvent. Try to get as much as you can, as aggressive cleaning solvents can damage the metal of your rifle over time.
Step 6: Oil the Bore
Running a single dry, clean patch with a few drops of gun oil down the bore is all it takes to prevent corrosion. Follow this up with one dry patch without gun oil to collect any excess still in the bore. The only thing left to do is to reassemble your gun!
Expert Tip:
More oil does not mean more prevention. You only need a very thin layer of oil to protect the metal.
Frequently Asked Questions
Q. What is rifle fouling?
Rifle fouling refers to the buildup over time of carbon, lead, copper, steel, or plastic particles inside the bore and chamber of your rifle, which deposit each time you discharge your rifle. Rifle fouling increases the chances of your rifle misfiring, jamming, and other performance and safety issues.
Q. Does cleaning a rifle affect accuracy?
Yes, cleaning your rifle DOES affect its accuracy! Since rifle fouling increases the chances of your firearm misfiring, jamming, and other performance and safety issues, it’s important to integrate regular cleaning into your routine.
You might see some outdated studies from 1965 that suggest that cleaning your rifle has little to no impact on accuracy. However, more recent studies show the opposite. Although no two firearms or rifles are the same, cleaning your rifle regularly helps to preserve its longevity and performance overall — including accuracy.
Q. How often should you clean your rifle?
How often you clean your rifle depends on how often as well as how you use it. A good rule of thumb is to clean your firearm at least once a month. If you practice or use it more frequently, we recommend cleaning it once after each trip to the range.
Clean your hunting rifle, at a minimum, before and after the season. And, if your rifle is exposed to harsh elements like sand, dirt, moisture, or salt, be sure to clean it right away.