 Gift Cards
 Hot Deals
 Big Fun Deals
 Clearance
Learn How to Clean a Revolver in 10 Easy Steps
WriterAubrey McShan
12 min read

The revolver realm is vast and varied. Each piece boasts its own distinct charm. But no matter which one you've got your hands on, keeping it clean is key! Luckily, doing so isn’t too hard. Dive into our guide to learn exactly how to clean a revolver so that it sparkles! Regularly cleaning yours improves its performance and keeps it safe. Are you ready to make that revolver gleam and work like a dream?
Key Takeaways
- How to Clean a Revolver: Step by Step: Want to learn how to clean a revolver? Follow our 10 steps for easy cleaning — from emptying the chamber to polishing your gun.
- How Often Should You Clean a Revolver? Find out how frequently you should do surface and deep cleaning on your revolver.
How to Clean a Revolver: Step-by-Step
We'll teach you how to clean a revolver with our step-by-step process so your firearm remains in peak condition!
Step 0: Make Sure Your Gun Is Not Loaded
Step 1: Prep Your Revolver
Step 2: Gather Your Materials
Step 3: Clean the Barrel
Step 5: Clean the Cylinders
Step 8: Clean the Extractor Rod
Step 9: Polish Your Gun
Step 10: Reassemble Your Revolver
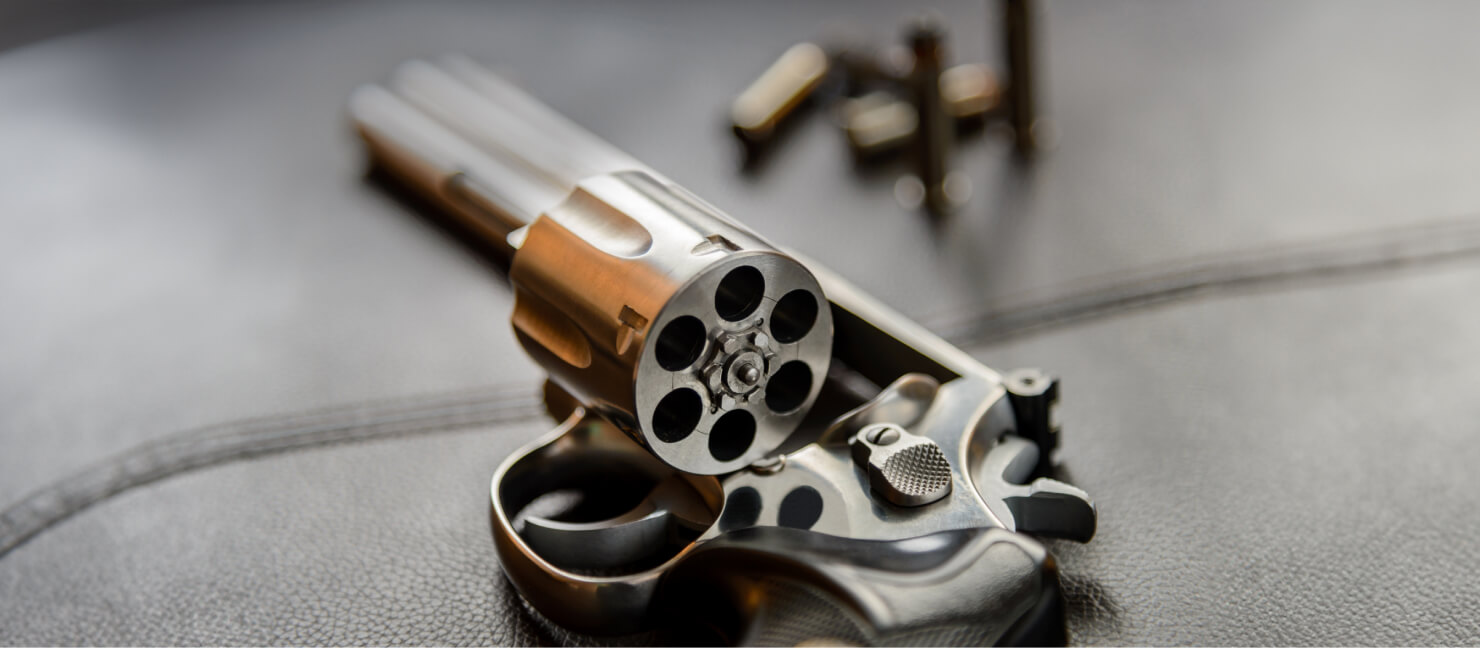
Step 0: Make Sure Your Gun Is Not Loaded
Empty every chamber, and double check that no rounds remain. Follow fundamental gun safety practices — like keeping your finger off the trigger unless aiming + treating the gun as if it were loaded at all times.
Expert Tip:
Before you proceed, consult your gun manufacturer's instructions in case there are any special steps relevant to your model that aren’t listed here.
Step 1: Prep Your Revolver
Always ensure that your revolver is completely unloaded before starting any cleaning process. When removing the grip panels or sleeve, use a gunsmithing screwdriver.
If you're only aiming for a basic clean, do not remove the side plate or separate the cylinder from the frame. It's essential not to disassemble the cylinder.
Depending on your revolver's specific design, either activate the cylinder latch to swing out the cylinder for cleaning or rotate the cylinder by hand.
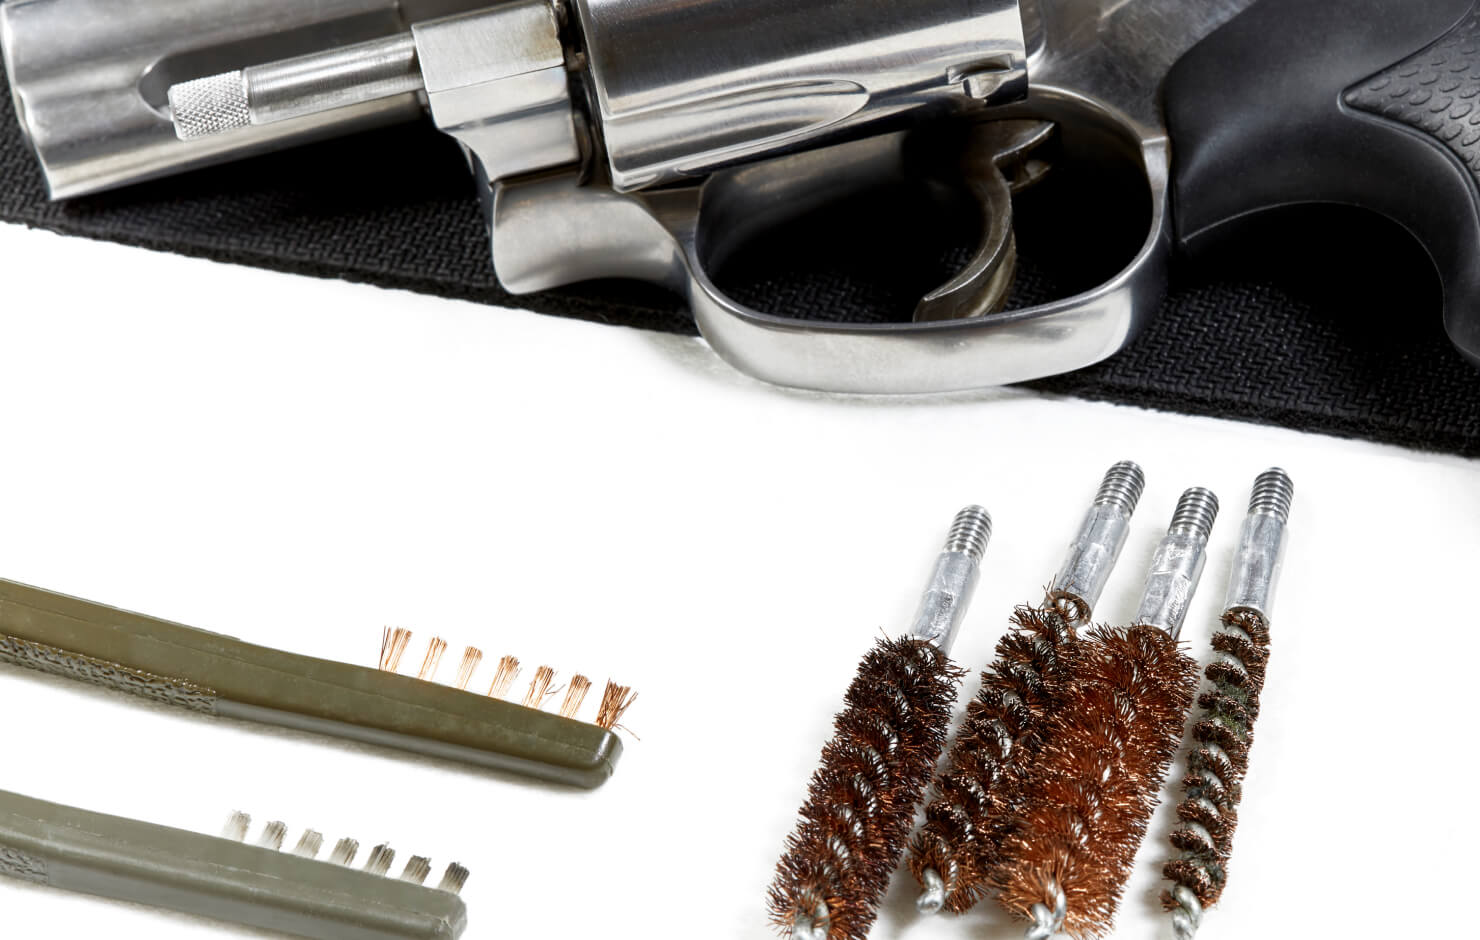
Step 2: Gather Your Materials
Start your gun cleaning process with your firearm, a cleaning kit, and a protective mat for a mess-free environment. Choose a location like a workbench or an outdoor area where spills won't be an issue. Ensure your gun cleaning kit includes the following:
Silicone Cloth: Use a silicone cloth to wipe down the gun's exterior
Gun Oil: Apply lubricating gun oil for smooth operation
Cleaning Patches: Utilize cleaning patches to remove residue
Cleaning Solvent: Employ a cleaning solvent to break down grime
Brush: Choose a brush for scrubbing (even a toothbrush will do)
Bore Brush: Insert a bore brush to clean the barrel
Bore Rods: Guide bore rods through the barrel to assist with cleaning
Clean Rags: Keep clean rags on hand for additional wiping (you can even use an old sock for this)
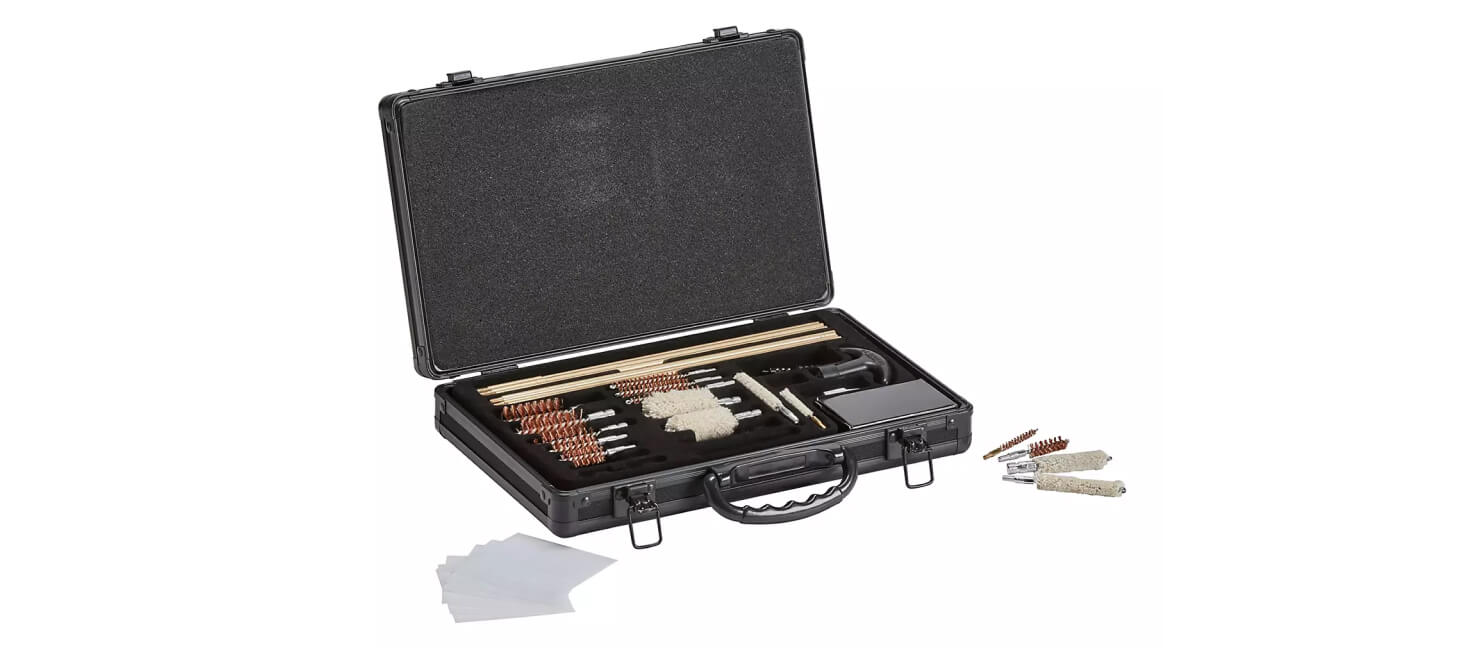
Expert Tip:
If you own multiple firearms, consider a universal gun cleaning kit. It’s usually affordable — ranging from $20 to $50.
Step 3: Clean the Barrel
Begin by attaching the bore brush to the rod. Choose a brush that matches your gun's bore size for the best results.
Soak the brush in the gun-cleaning solvent for thorough cleaning.
When you push the bore brush through the barrel, it will naturally twist to follow the barrel's grooves — let it do so.
Clean both ends of the barrel for a thorough cleaning. This cleaning process effectively dislodges any accumulated grime.
Always make sure the brush travels the full length of the barrel without touching the firing pin.
If your gun is exceptionally dirty, consider repeating the process and applying more cleaning solvent.
Step 4: Feed a Cleaning Patch Through the Barrel
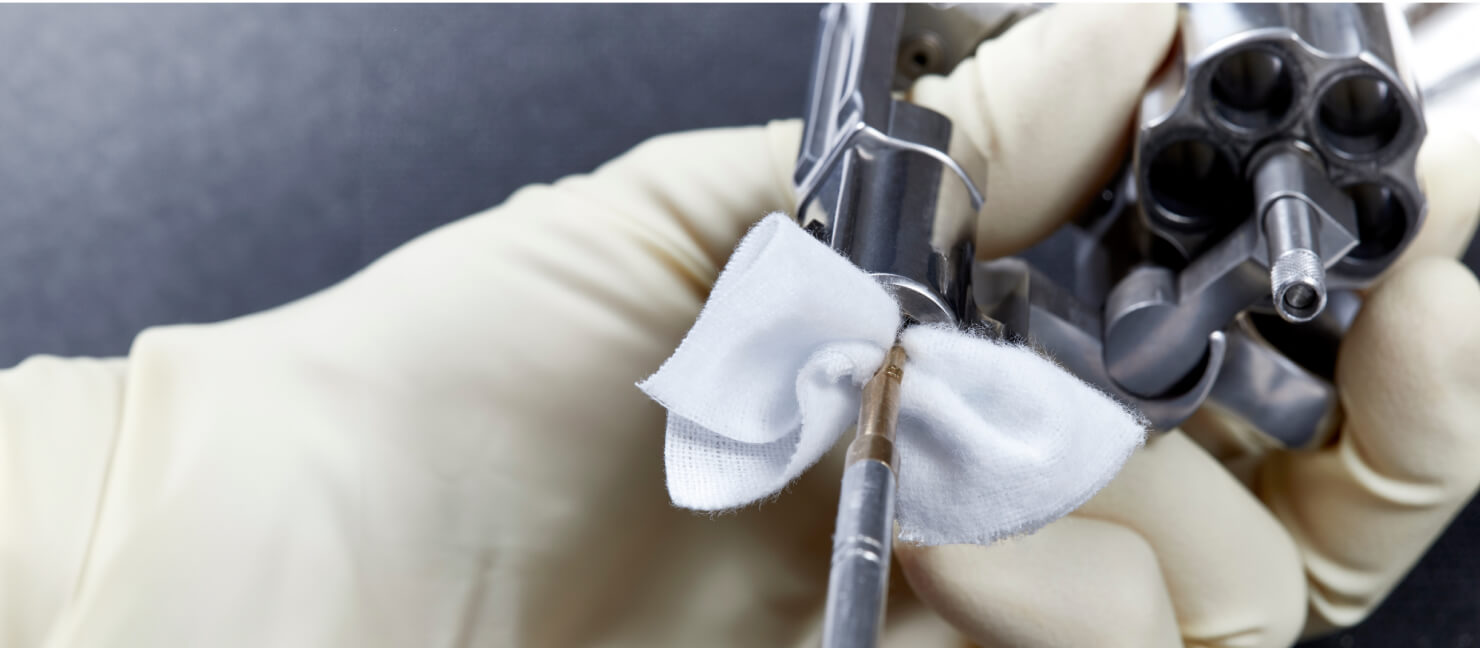
Attach a fresh cleaning patch to the same rod. Some patches come pre-saturated depending on the type you use for cleaning your revolver.
Saturate the patch in the solvent, then push it through the barrel.
Continue this process until a patch emerges clean from the barrel.
Afterward, run a few dry cleaning patches through the barrel to ensure it's free of any residue.
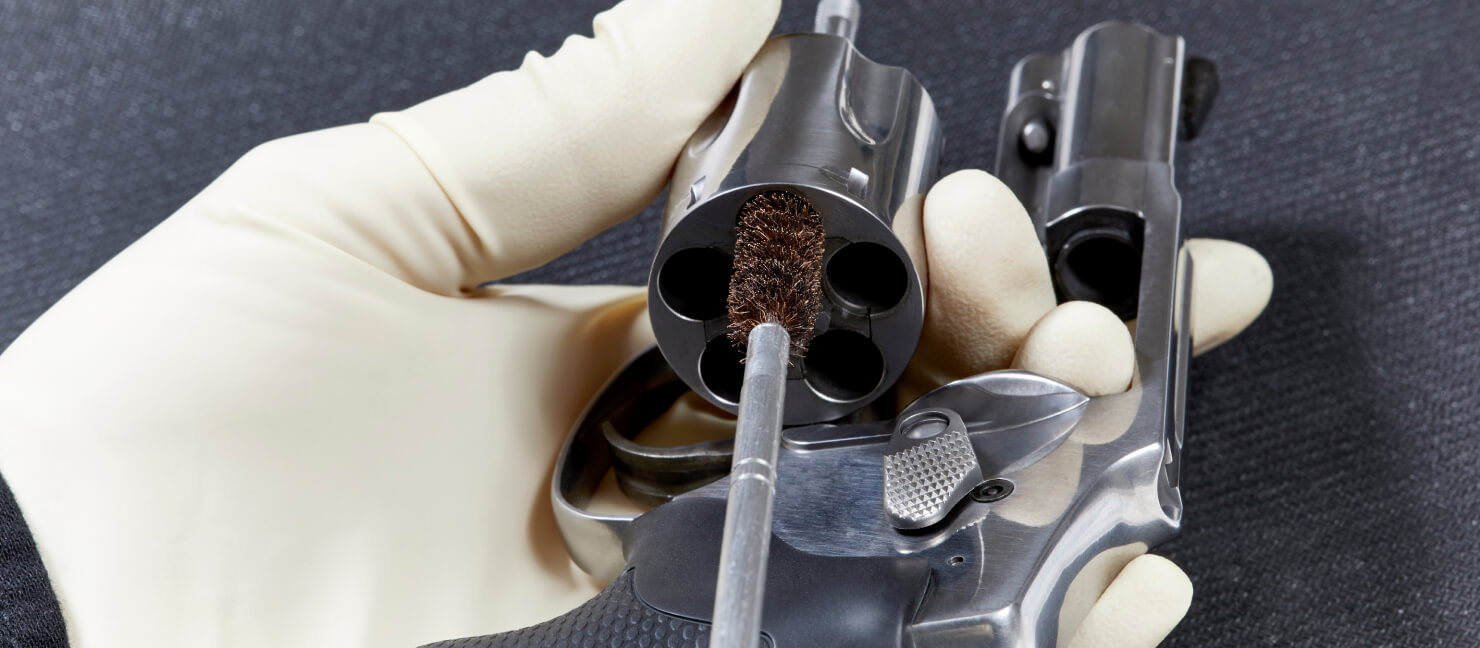
Step 5: Clean the Cylinders
Make sure you choose a bore brush that is a suitable size for your revolver’s cylinders before you begin cleaning them!
Immerse the bore brush in the cleaning solvent.
Push the bore brush through each cylinder — ensuring it goes completely through to the other side.
If the cylinders are particularly dirty, repeat the process multiple times until they are fully cleaned.
Step 6: Feed a Cleaning Patch Through Each Chamber
Next, you’ll need to run a clean patch through all of the revolver’s chambers. To do that, follow these instructions:
Attach the patch holder to your cleaning rod.
Saturate a cleaning patch with solvent.
Insert the wet patch into a chamber, ensuring it travels completely through before pulling it back out.
Repeat this process for each individual chamber.
After cleaning with the solvent, run a dry patch through each chamber to remove any residual solvent or debris.
Expert Tip:
If the chambers are especially dirty, you might need to reapply the solvent and clean them again.
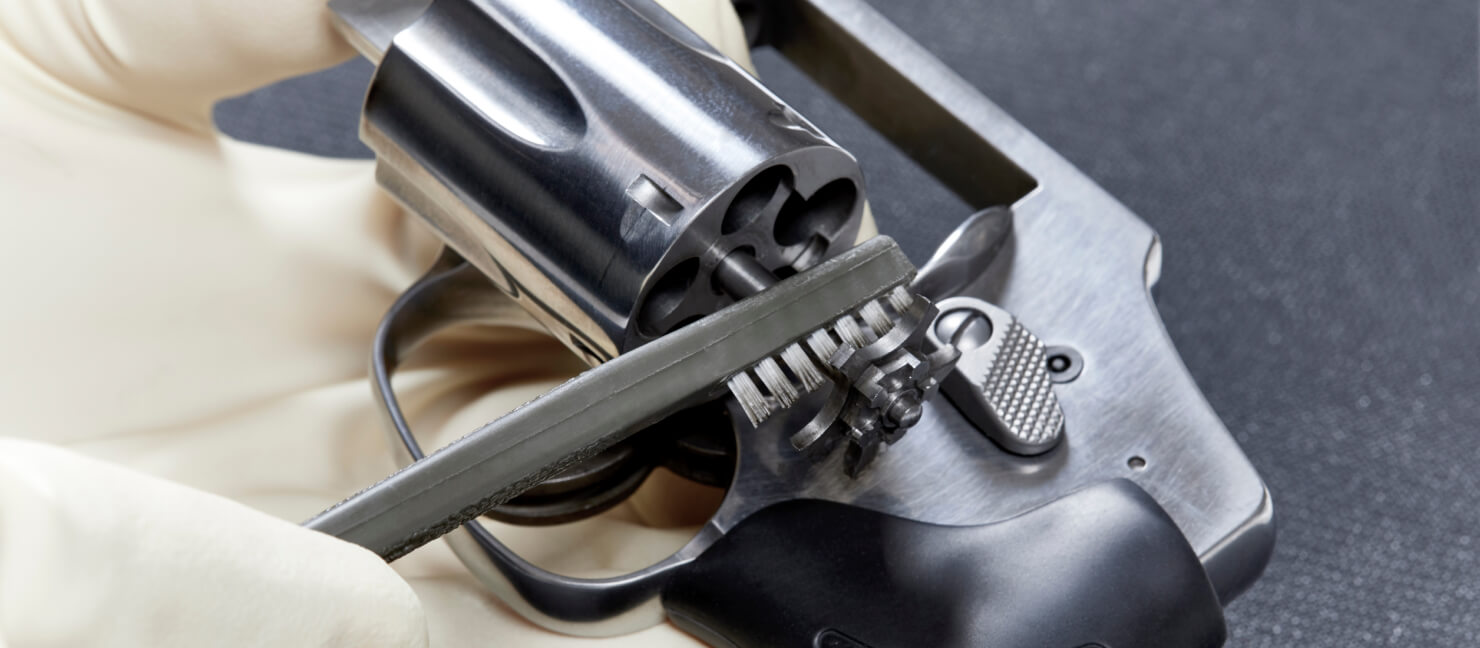
Step 7: Clean the Muzzle & Rear Cylinder
Once each chamber has the solvent patch run through them, you need to clean the muzzle and rear cylinder:
Dip a bore brush or toothbrush into the cleaning solvent.
Carefully scrub the muzzle and the opening of the rear cylinder with the solvent-soaked brush.
Brush the exterior and ends of the cylinders.
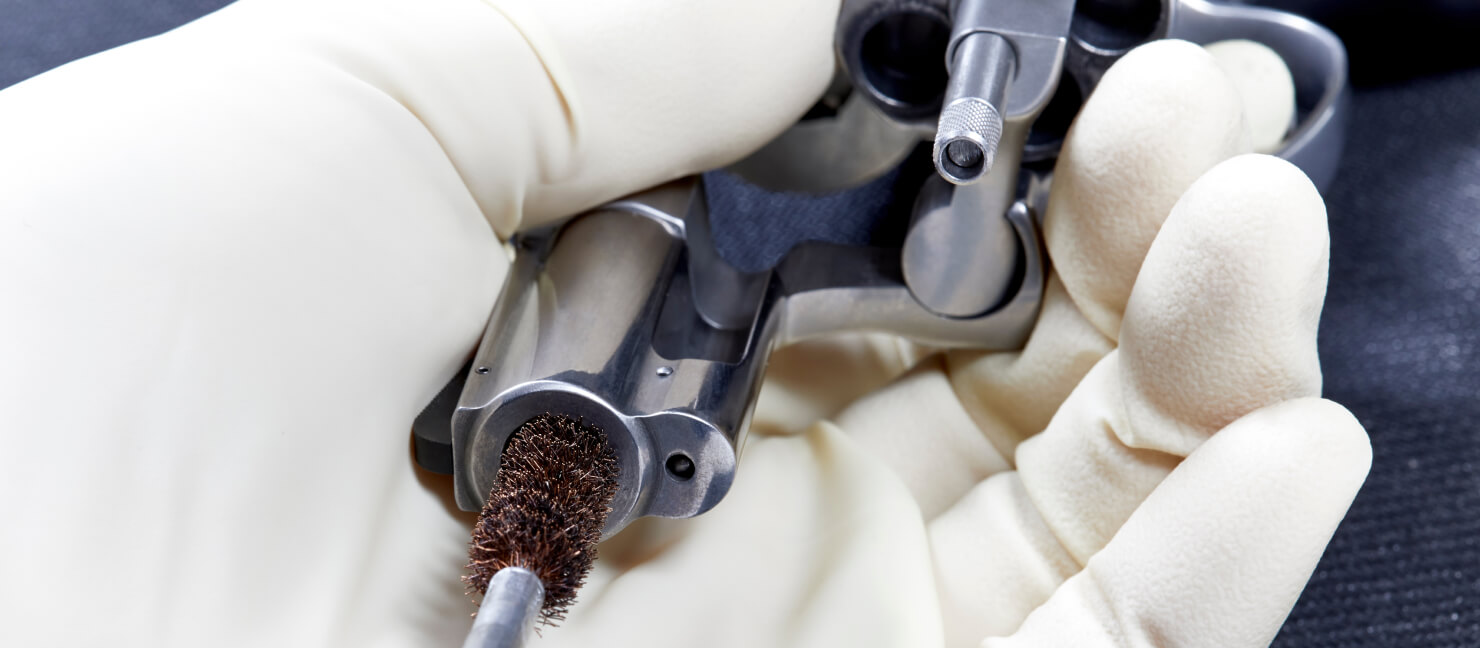
Step 8: Clean the Extractor Rod
With the muzzle and rear cylinder cleaned, it’s time to pay special attention to the extractor rod. Clean this revolver part by following these instructions:
Extend the extractor rod using your thumb.
Begin by cleaning the front of the extractor rod, then remove it to clean its entire length.
Utilize a brush soaked in solvent for thorough cleaning.
Ensure you also clean the star and the portion of the rod situated between the cylinders.
Cock the hammer back and make sure to scrub the area behind it as well.
Step 9: Polish Your Gun
Now that you know how to clean a revolver’s more technical parts, it’s time to make its exterior shine. Follow these steps to do just that:
Apply gun oil to a clean rag and polish all parts of your gun: excluding the hand grips, the inside of the barrel, and the cylinders.
Cock the hammer back and ensure it receives a thorough polish as well.
Take your silicone gun cloth and give the gun a good wipe.
If there's any excess oil, use a fresh rag to wipe it off. The gun shouldn't be overly oily. If it appears saturated, continue wiping until it's just lightly lubricated.
Finish by giving the gun another wipe down with the silicone gun cloth.
Expert Tip:
At the end of this process, your gun should gleam — looking both shiny and clean!
Step 10: Reassemble Your Revolver
If you previously detached the grip panels or sleeve, ensure you securely reattach them to your revolver. Once reassembled, store your revolver in a secure location like a handgun safe.
How Often Should You Clean a Revolver?
Clean your revolver after every trip to the range or field underscores to form the best maintenance habits possible. If your firearm encounters sand, dust, extreme humidity, or water, clean it promptly with a gun cleaning kit. Routine maintenance preserves its performance and extends the lifespan of your weapon.
Have Fun Out There!
Itching to use a revolver at the range? While revolvers often evoke Wild West nostalgia, many admire them for their distinct style. Dive into Academy's diverse selection and pick the perfect revolver for you. And to ensure its longevity and shine, don't forget the importance of cleaning a revolver with our top-notch gun cleaning kits.